


Making initial settings using the Setup Guide
When you turn on this product for the first time, follow the on-screen instructions (Setup Guide) on the TV to perform the initial settings.
The settings include the following:
- Setup Guide
- Language settings
- Speaker setup using “Room Correction”
NOTE
- Even if you skip the Setup Guide here, you can perform the initial setup later from SETTINGS menu > “Setup Guide”.
Setting the language
- Turn on the TV.


- Switch the TV input.
- Switch the TV input to the HDMI input connected to the HDMI OUT port of this product.
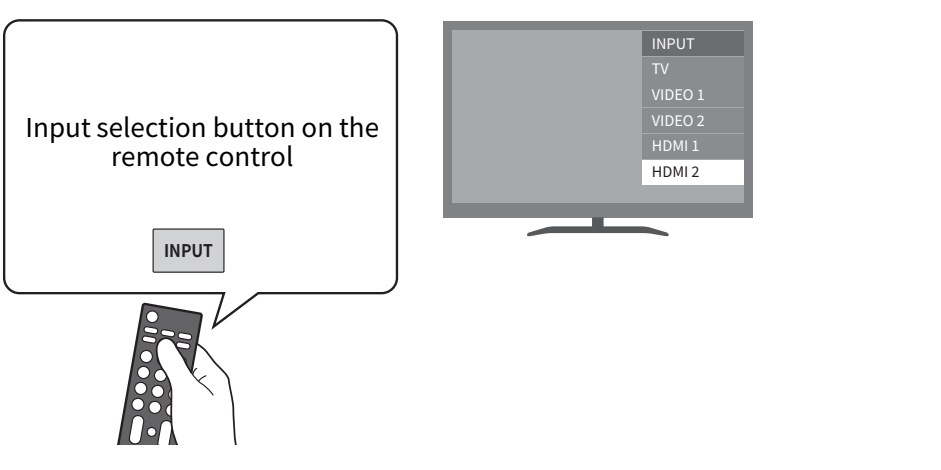
- The display may vary depending on the type of TV you are using.
- Make sure that the Setup Guide is displayed on the TV screen.
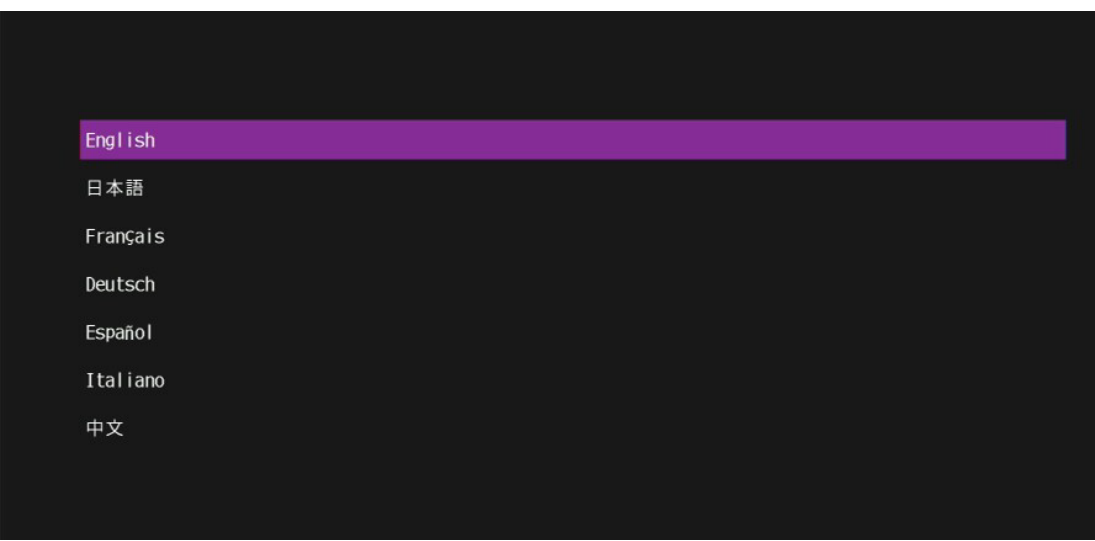
- It may take several seconds for the screen to appear. If it does not appear after waiting for a while, start again from “Connecting a TV”.
NOTICE
- Do not connect the Setup Microphone to this product at this stage.
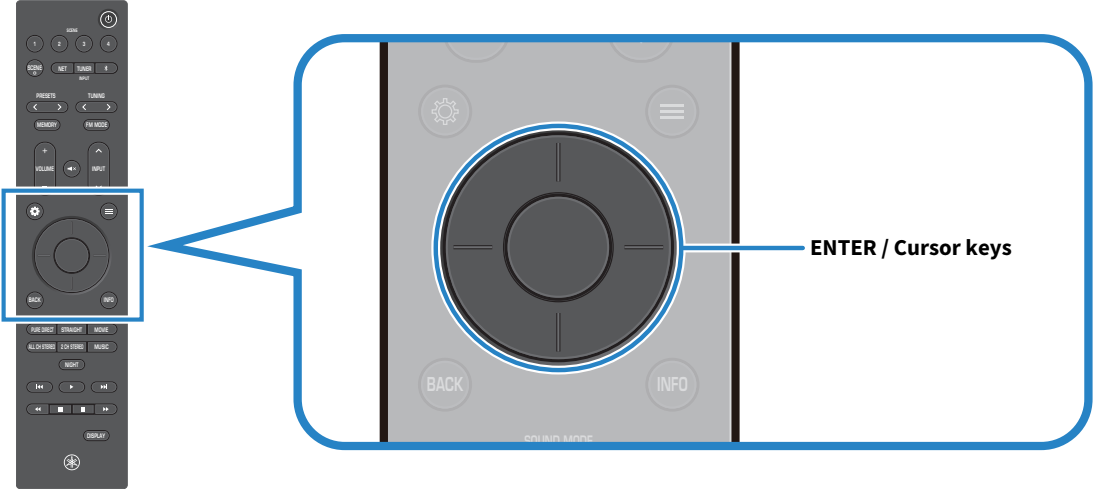
- Select the language.
- Use the cursor keys to select a language, then press the ENTER key.
Set up the speakers using “Room Correction”
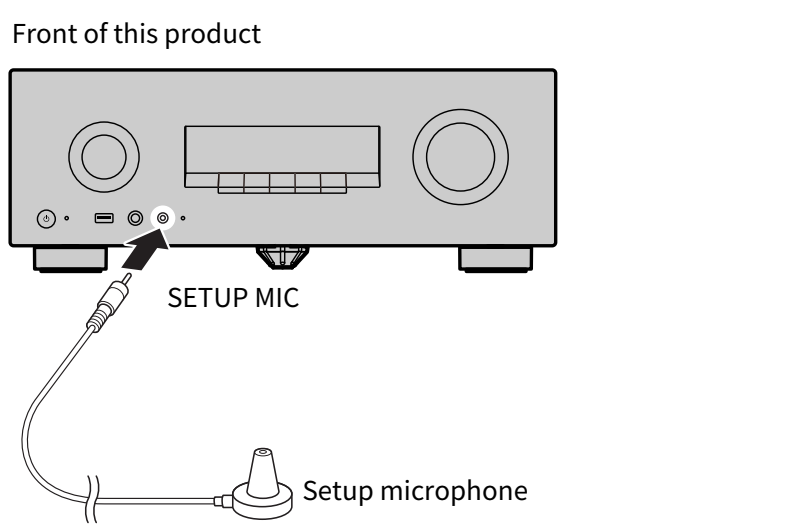
- Connect the Setup Microphone.
- Connect the supplied Setup Microphone to the SETUP MIC jack of this product.
NOTE
- “Room Correction” detects the speaker connections and the distance to the listening position, and automatically adjusts the volume balance, delay, and tone.
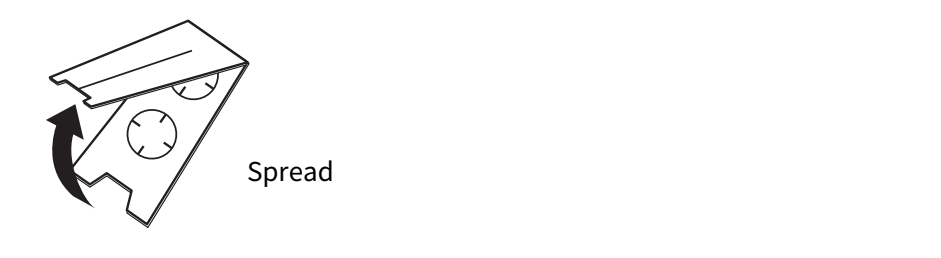
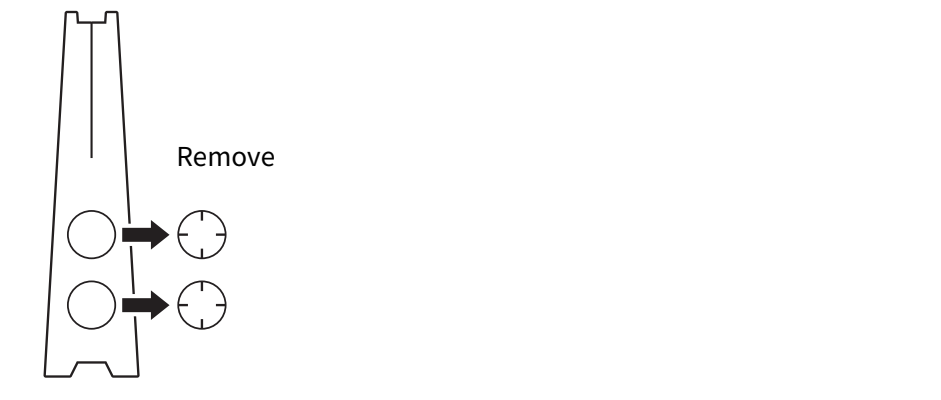
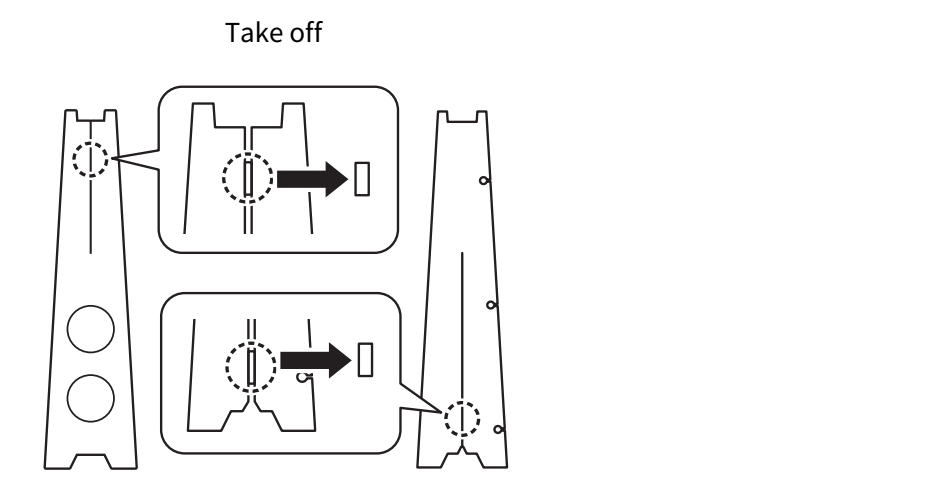
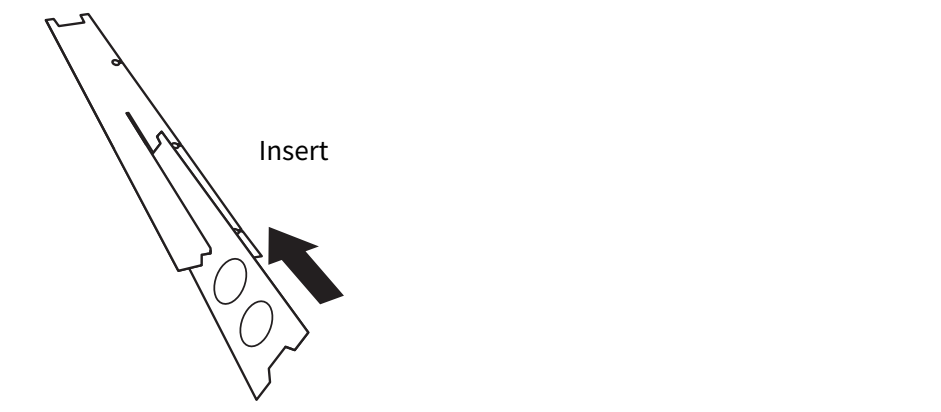
- Assemble the Cardboard Microphone Stand.
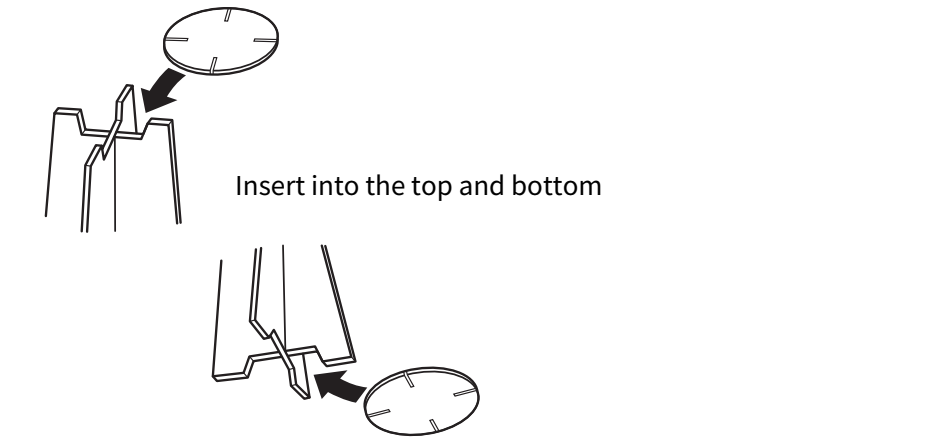
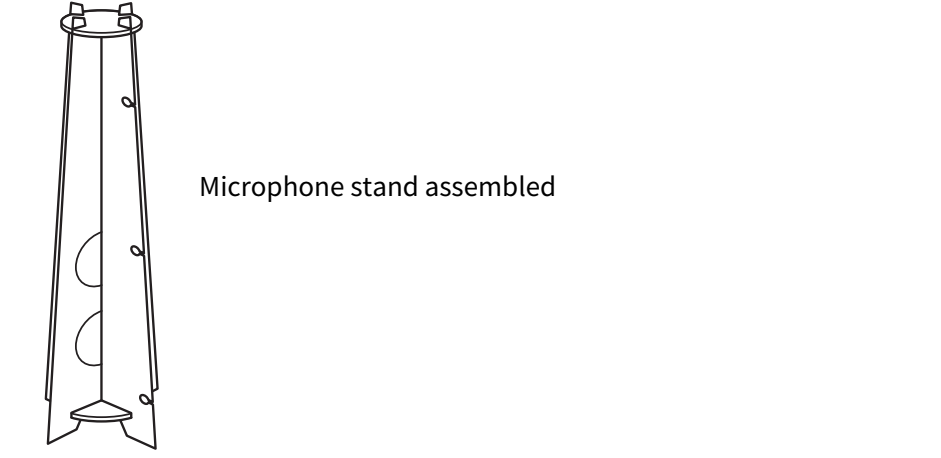
- Place the Setup Microphone at the listening position.
- Place the Setup Microphone on top of the Cardboard Microphone Stand.
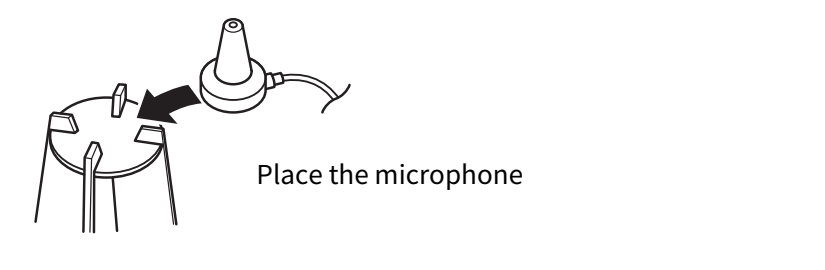
- Hook the Setup Microphone cable into the hole in the Cardboard Microphone Stand.
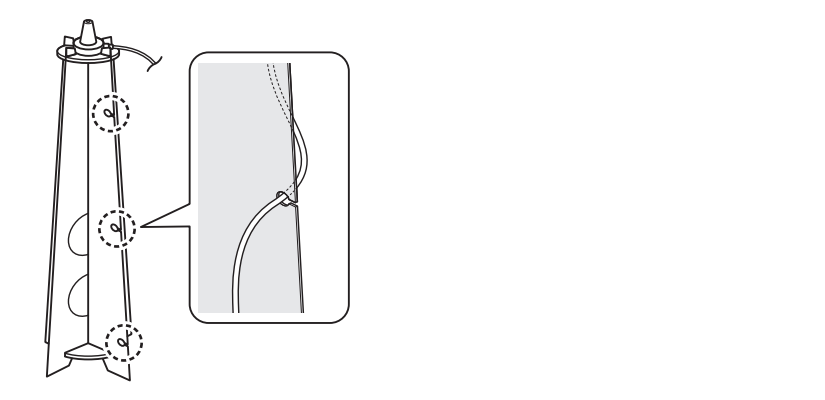
- Place the Cardboard Microphone Stand with the microphone attached at the listening position.
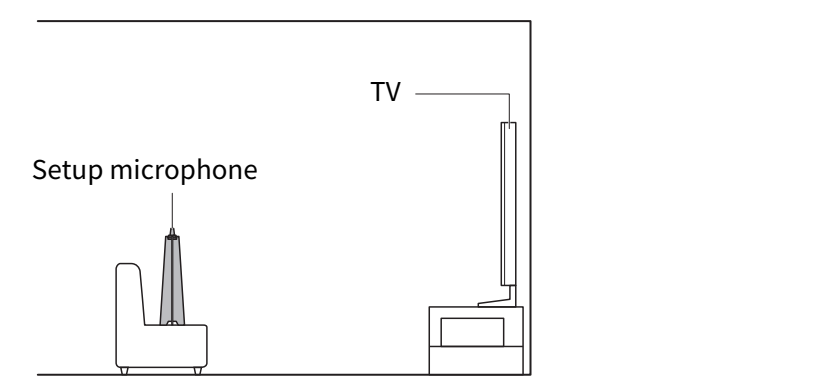
NOTE
- For best results, position the microphone at ear height when seated. You can also use a camera tripod.
- Set up the subwoofer.
- Setting up the subwoofer allows you to enjoy powerful bass sound. If you are using a subwoofer, configure this setting.
- Turn on the subwoofer.
- Set the volume to half of the maximum level.
- If the crossover is adjustable, set it to the maximum.
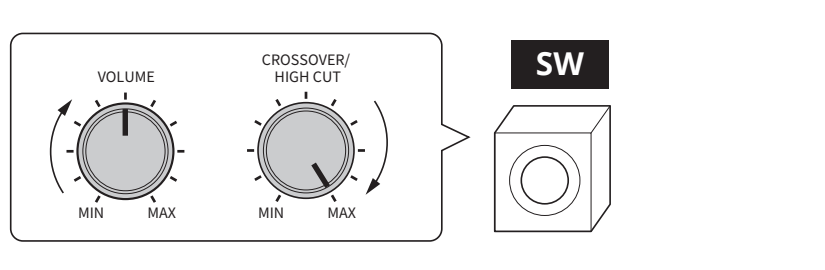
- Follow the on-screen instructions on the TV to perform the measurement.
NOTICE
- Loud test tones will be output during the measurement. If small children are present, please take appropriate precautions.
- The volume cannot be adjusted during the measurement.
- Keep the room quiet during the measurement.
- During the measurement, stay in a rear corner of the room and avoid blocking the path between the speakers and the Setup Microphone.
- Do not connect headphones.
- Check the measurement results and select “Save”.
- When the measurement is complete, the results are displayed on the TV.
- Check the results and, if there are no issues, select “Save”.
- When the setup completion screen appears, disconnect the Setup Microphone from this product.
- This completes the “Room Correction” process.
Next step
- If connecting to the network wirelessly:
- If connecting to the network using a wired connection:
 RX500A