

Using the 31BandGEQ
- Follow steps 1–8 under Inserting a GEQ/PEQ into a channel via the Selected Channel section, insert the 31BandGEQ into a channel.
- The system displays the EDIT screen for the GEQ/PEQ that you inserted.
- If you are using a stereo source, link two GEQ units.
- When you press the GEQ LINK button, the following popup window will appear. To enable linking, press any button other than CANCEL. The popup window contains the following items.
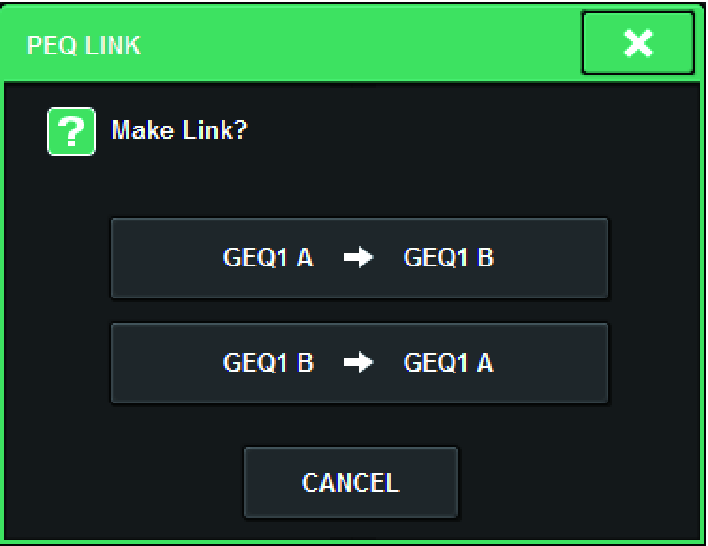
- GEQ*A->GEQ*B button
- The channel L parameter values will be copied to channel R, and then those parameters will be linked. An asterisk (*) represents the GEQ location.
- GEQ*B->GEQ*A button
- The channel R parameter values will be copied to channel L, and then those parameters will be linked. An asterisk (*) represents the GEQ location.
- CANCEL button
- Cancels the link and closes the popup window.
- Press the GEQ ON/OFF button to turn the 31BandGEQ on.
- Press one of the buttons in the FADER ASSIGN field to select the group of bands you will control using the faders in the Channel Strip section.
- The buttons in the FADER ASSIGN field correspond to the following groups of bands.
- 20-250: Twelve bands within 20.0Hz–250Hz
- 80-1k: Twelve bands within 80.0Hz–1.00 kHz
- 250-3.15k: Twelve bands within 250Hz–3.15 kHz
- 1.6k-20k: Twelve bands within 1.60kHz–20.0 kHz
- When you press one of these buttons, the faders for the bands selected on screen will turn white, and the numbers of the corresponding faders in the Channel Strip section will be displayed. Also, you will be able to use the faders in the Channel Strip section to control the corresponding bands.
NOTE
- The above operation is possible even if the Channel Strip section is locked. When you turn off the button in the FADER ASSIGN field, the faders will return to the locked state.
- Raise the corresponding fader of the Channel Strip section.
- The corresponding frequency region will be boosted or cut.
NOTE
- When a fader in the Channel Strip section is set to the center (flat) position, the corresponding [ON] key indicator will turn off. This indicates that the corresponding band is not being modified. If you raise or lower the fader even the slightest amount, the [ON] key will light, indicating that this band is being modified. If you press a lit [ON] key to make it go dark, the corresponding band will immediately return to the flat state.
- Repeat steps 4 and 5 to adjust each band.
NOTE
- If you switch the touch screen display to a different screen or to the GEQ window, the fader assignments in the Channel Strip section will forcibly be defeated. However, if you once again display the same GEQ, the group of bands you had previously been controlling will automatically be assigned to the faders.
- When you finish making settings, turn off the buttons in the FADER ASSIGN field.
- The faders and [ON] keys in the Channel Strip section will return to their previous function.
NOTE
- When you close the GEQ popup window, the buttons in the FADER ASSIGN field automatically turn off.