


Calling and registering a scene
Calling a scene
Press one of the SCENE keys (1–4) on the remote control to recall a registered scene. When the product is in standby, pressing this key also turns the power on. SCENE 1–4 can also be called using the SCENE keys 1–4 on the front panel.
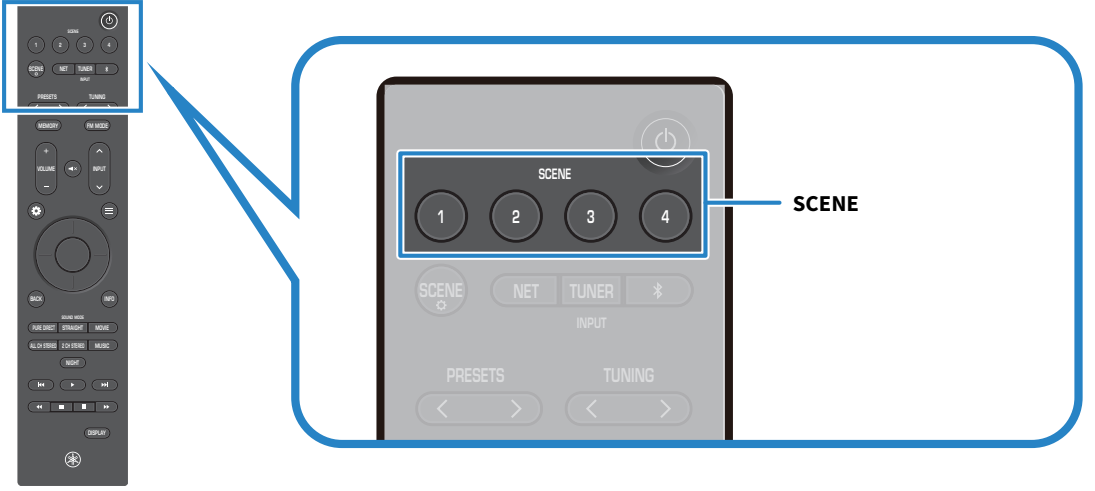
Scene default settings
By default, each scene has the following input settings registered:
Main zone
- SCENE key 1: HDMI 1
- SCENE key 2: HDMI 2
- SCENE key 3: HDMI 3
- SCENE key 4: HDMI 4
Registering a scene
You can register the current state of this product to a SCENE key.
- Set the product to the state that you want to register to the SCENE key.
- Press and hold the desired SCENE key until “SceneX Created” appears on the front display.
- The current state of this product is registered to the SCENE key.
- Here, “X” indicates the Scene number.
- This completes the registration.
- We recommend registering a scene while actually watching or listening to the content you want to assign.
You can set the items recalled by the Scene function.
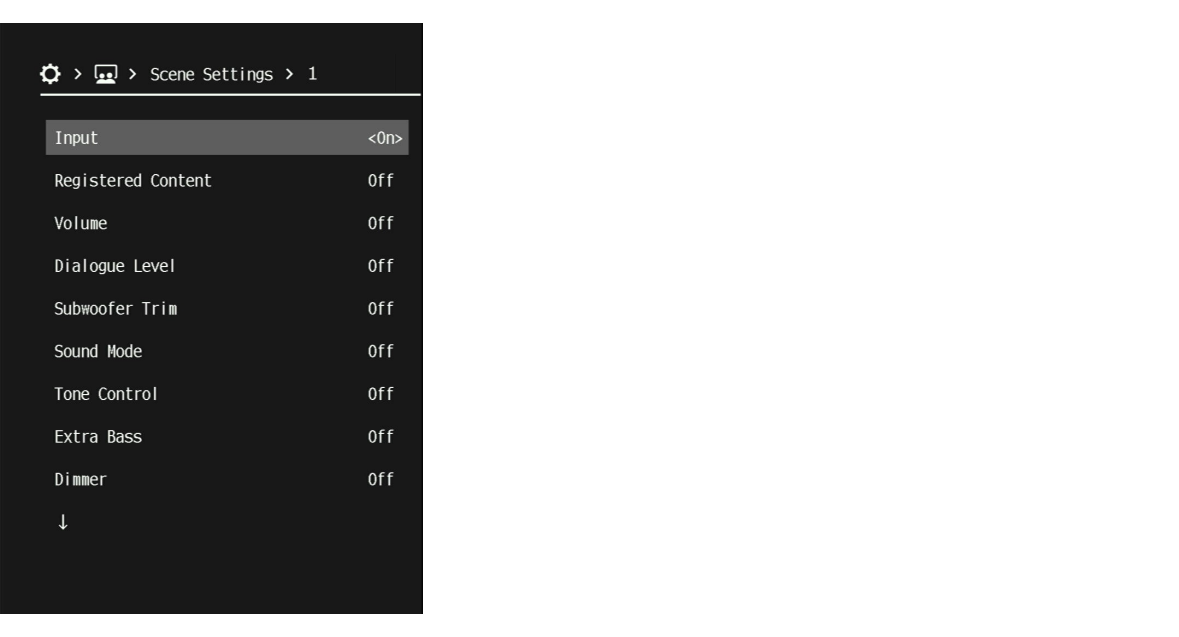
Choose which setting items will be recalled by the scene. When a SCENE key is pressed, only the functions set to “On” are recalled. This is useful when you want to change the input without changing the audio settings.
- Press the ~(SETTINGS menu) key.
- Select “Scenes”.
- Select “Scene Settings”.
- Select a scene name (1-4), and press the ENTER key.
- Select an item, then switch it to “On” or “Off”.
Setting item | Content recalled | Page |
|---|---|---|
Input | Input | |
Registered Content | Registered broadcast station / music content (for inputs that support content registration) | ― |
Volume | Master volume | |
Dialogue Level | Dialogue volume adjustment | |
Subwoofer Trim | Subwoofer volume level adjustment | |
Sound Mode | Sound mode | |
Tone Control | Treble/Bass volume adjustments | |
Extra Bass | Extra Bass setting | |
Dimmer | Dimmer | |
HDMI Control | Control synchronization | |
Lip Sync | Lip sync setting |
- To enable “HDMI Control” for the Scene function, from the SETTINGS menu, set “HDMI” > “HDMI Control” to “On”.
- When you press the SCENE~ key on the remote control, the “Scene Settings” screen appears directly.
Renaming a scene
This renames a scene. The scene name is displayed on the front display or the TV screen.
- Press the ~(SETTINGS menu) key.
- Select “Scenes”.
- Select “Scene Rename”.
- Select a scene name (1-4), and press the ENTER key to open the editing screen.
- Change the name.
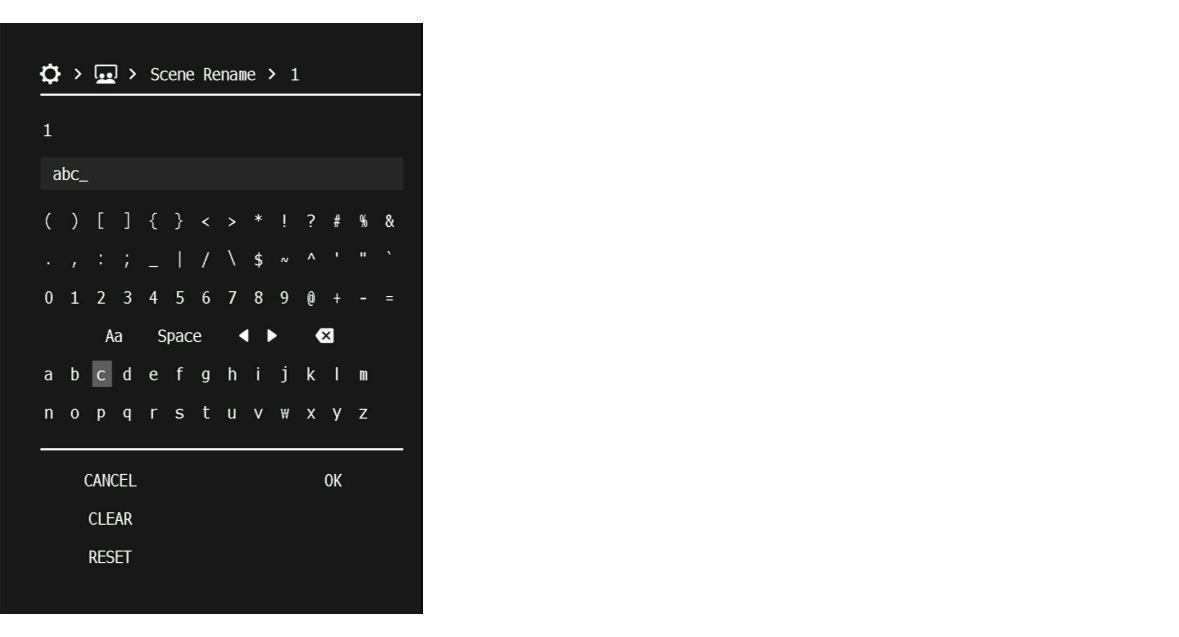
- Select “OK”.
- This completes the setting.
- To delete all entered characters, select “CLEAR”.
- To restore the setting to its default value, select “RESET”.
 RX500A