Working with Objects
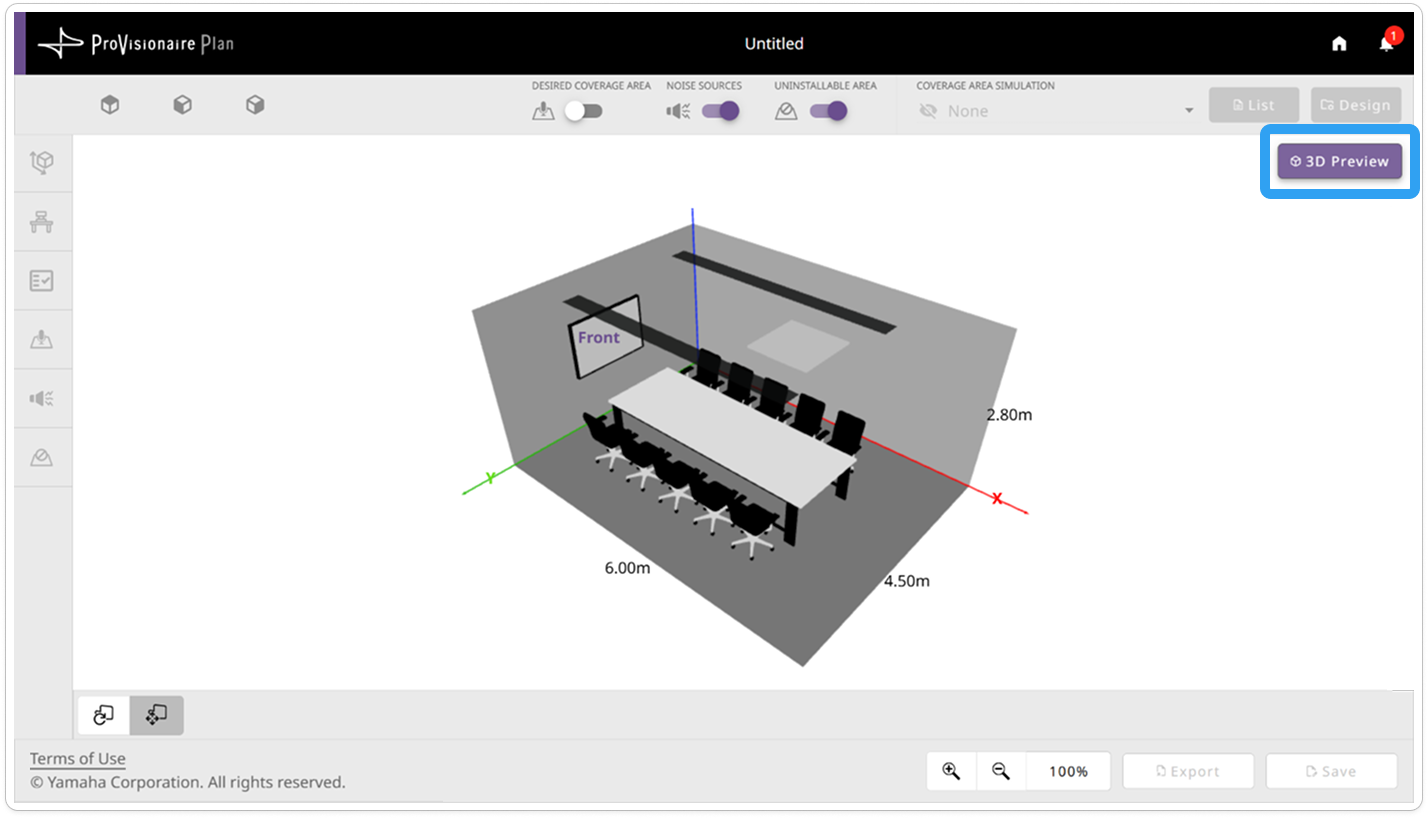
Furniture, devices and areas are arranged by editing their objects in the arrangement view.
|
Use the selection tool to edit objects. For details on using other buttons and tools, refer to "Details on Screens". |

Arranging objects
-
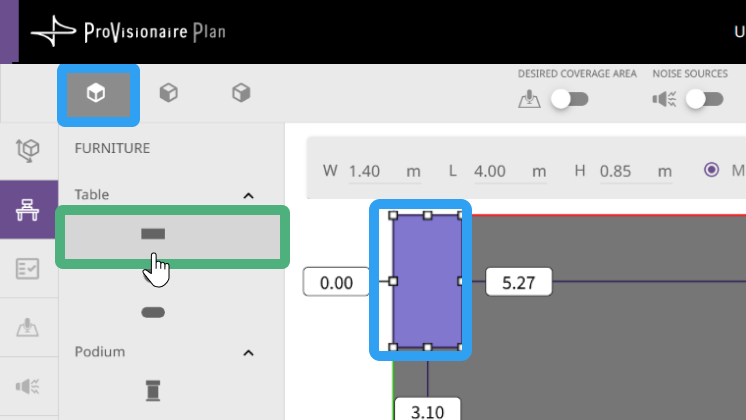
Select the top view angle.
-
Clicking an icon in the settings panel places the corresponding object in the top left of the room in the arrangement view.
Selecting objects
Select the object to be edited.
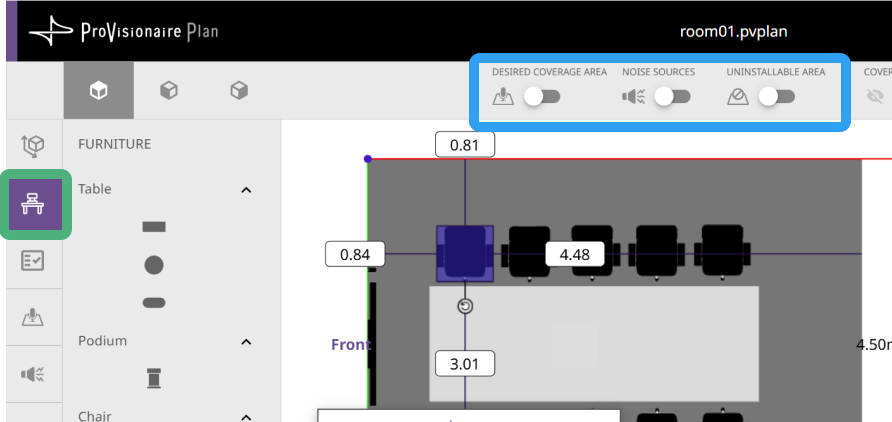
Display the condition screen for the object to be edited.
(For example, furniture can only be arranged and selected from the furniture screen.)
- To select one object:
-
-
Place the mouse pointer over an object and, when the object changes color, click the object.
-
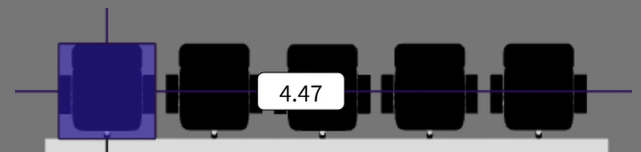
- To select multiple objects:
-
-
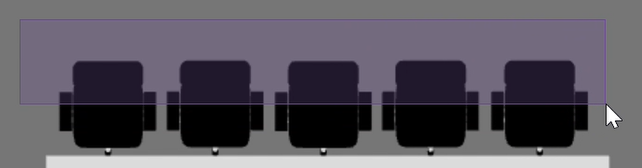
While holding down the Ctrl key, click the objects to be selected.
-
Drag the mouse pointer over all objects to be selected in order to select them all.
-
Specifying the object size
When an object whose size can be specified is selected, a settings bar appears.
Specify the size in one of the following ways:
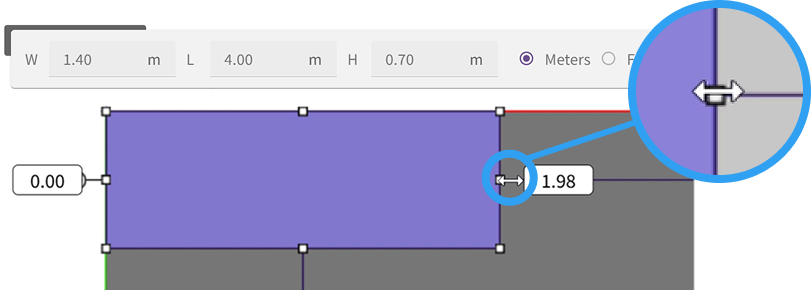
- To resize with the mouse:
-
-
Move the mouse pointer over a point in the object, and, when the arrow appears, drag the point to resize the object.
-
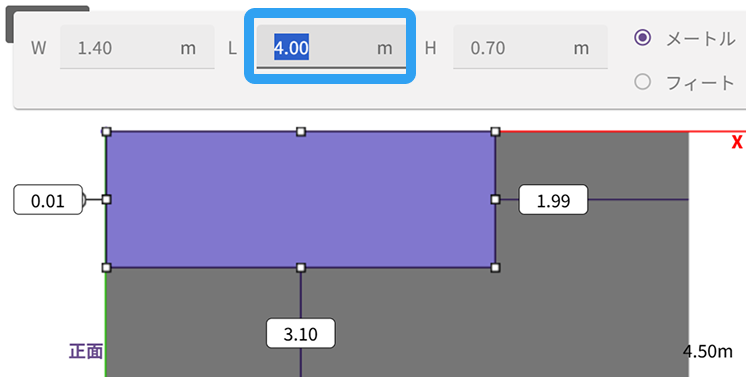
- To specify values in the settings bar:
-
-
Specify values by directly entering them into the settings bar.
-
Since an object is resized from its center point, it cannot be enlarged if it is against a wall. In that case, try enlarging the object with the mouse or moving it away from the wall before specifying values.
-
Adjusting the object location
Select an object, and adjust its location according to the actual room arrangement.
-
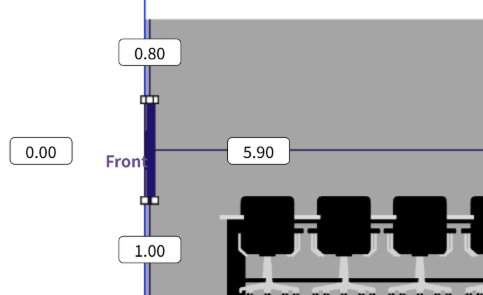
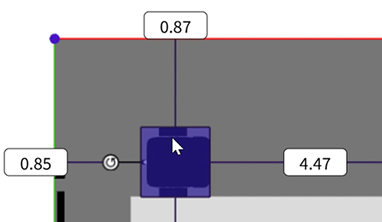
The distances between the selected object and the walls and ceiling appear.
-
Move an object by dragging it with the mouse or by using the arrow keys on the keyboard.
Rotating objects (that can be rotated)
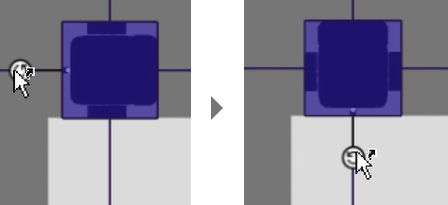
When an object that can be rotated is selected, a rotation handle appears.
When the mouse pointer is moved over the rotation handle, an arrow appears. Drag the rotation handle to rotate the object.
Duplicating objects
If multiple copies of the same object are needed, copy and paste the object to create as many as needed.
-
Select the object to be duplicated
-
Click the
 (copy) button in the editing tools, and then click the
  (paste) button.
The copied object is pasted in the top left of the room in the arrangement view.
Switching the view angle in order to specify the object arrangement height
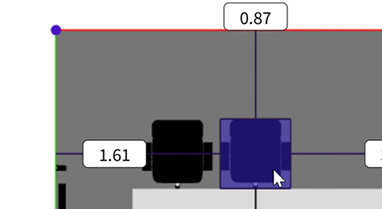
The height must be specified for objects that are not attached to the floor or ceiling. Specify the height by using the side or front/back view angles.
-
When using a side, front or back view angle, only objects placed on the wall facing you can be viewed and edited.
-
View objects placed on the opposite side by clicking the
 (flip view) button to flip the view.