Installing and uninstalling Yamaha LAN Monitor
1. Installation
Follow the steps below to install Yamaha LAN Monitor.
-
Double-click the downloaded zip file and extract it to any location.
-
Double-click “Yamaha LAN Monitor VX.X.X.pkg” (where X is the version number) in the expanded directory.
The Yamaha LAN Monitor setup dialog box appears. -
Perform the installation as directed in the screen.
-
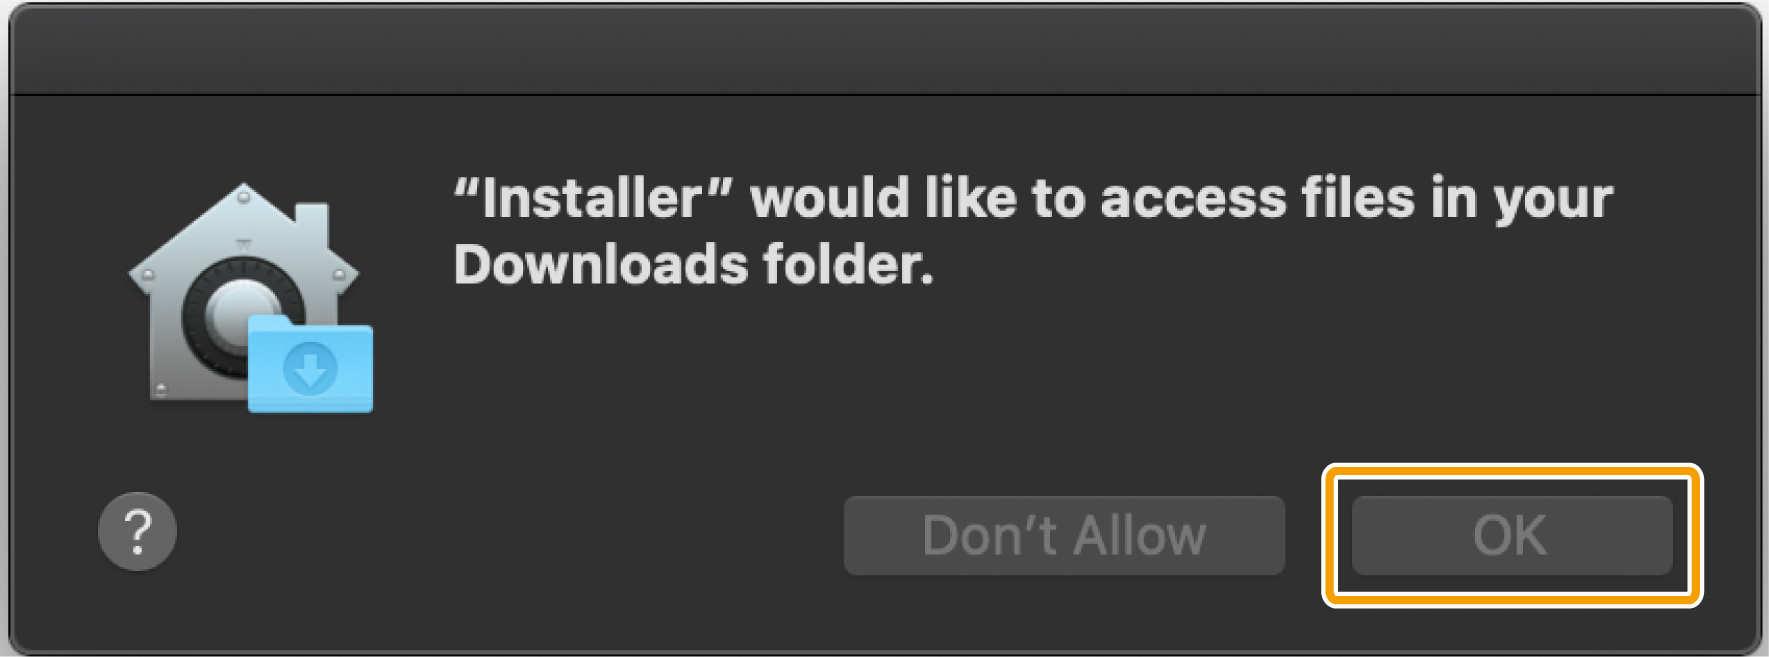
If the following dialog box appears, click [OK].
-
When the uninstallation of Yamaha LAN Monitor is completed, a dialog box will ask you to uninstall the Dante Discovery / Dante Control and Monitoring functions.
If you use Yamaha switches on the Dante network and if you have not installed the Dante Control and Monitoring functions, install these functions in addition to the WinPcap function. -
If a dialog box appears prompting you to install Rosetta, follow the instructions in the dialog box. Yamaha LAN Monitor cannot be used on a Mac with an Apple silicon if Rosetta is not installed.
-
-
Restart the computer.
2. Uninstallation
-
Double-click “Uninstall Yamaha LAN Monitor” in the folder that was expanded during installation.
The Yamaha LAN Monitor uninstallation dialog box appears. -
Perform the uninstallation according to the onscreen instructions.
* If the “User Account Control” dialog box appears, click [Yes].
* When the uninstallation of Yamaha LAN Monitor is completed, a dialog box will ask you to uninstall the Dante Discovery / Dante Control and Monitoring functions. Perform the uninstallation as directed in the screen. However, the Dante Discovery/Dante Control and Monitoring function will not be properly uninstalled if another application that uses this function (such as Dante Controller) is currently installed.
* WinPcap and Dante Discovery / Dante Control and Monitoring functions will not be uninstalled. If you want to uninstall these functions as well, make sure that other applications are not using them, and then uninstall them individually using [Uninstall] or [Uninstall or change]. -
Restart the computer.
3. Installing Dante Controller
Dante Controller must also be installed to launch Dante Controller from Yamaha LAN Monitor. For details on installing Dante Controller, refer to the “Dante Controller User Guide.”
You can download Dante Controller and the Dante Controller User Guide from the downloads page of the website below.
https://www.audinate.com/products/software/dante-controller
| Yamaha LAN Monitor uses the same network adapter as the one selected in Dante Controller to detect Dante-enabled devices. Therefore, in the environment where Dante Controller is installed, select the network adapter in Dante Controller appropriately and then start Yamaha LAN Monitor. When selecting a network adapter with Dante Controller, it is necessary to check “Use Shared Dante Interface”. If you change the network adapter selection in Yamaha LAN Monitor, the network adapter selection status of other applications (such as Dante Controller) that use the Dante shared interface will also be changed. |
4. When using Yamaha LAN Monitor as a user other than the user who executed the installer
In order to use Yamaha LAN Monitor, the user must belong a group that can capture packets.
The user who executed the installer will automatically be given group (lan_monitor_bpf) privileges allowing for capturing packets. However, for other users, it is necessary to perform the following operations and join the group called lan_monitor_bpf.
-
Click the key at the bottom of the screen in [System Preferences] → [Users and Groups], and enter the administrator user name and password.
-
From the list of groups, click lan_monitor_bpf and check (allow) the users who want to use LAN Monitor as a membership.
5. When using a computer with WireShark installed
When using WireShark and Yamaha LAN Monitor at the same time, you need to enable membership for users whom you want to be able to use to both the access_bpf and lan_monitor_bpf groups.