Import/Export the CONFIG
LAN Monitor allows you to import/export CONFIG in the following two ways.
-
Importing/exporting from the “Device Settings” dialog, one unit at a time
-
Importing/exporting from multiple units at once from the “Config Import/Export” tab on the List screen
|
1. Import the CONFIG one by one
To import the CONFIG, follow the steps below.
-
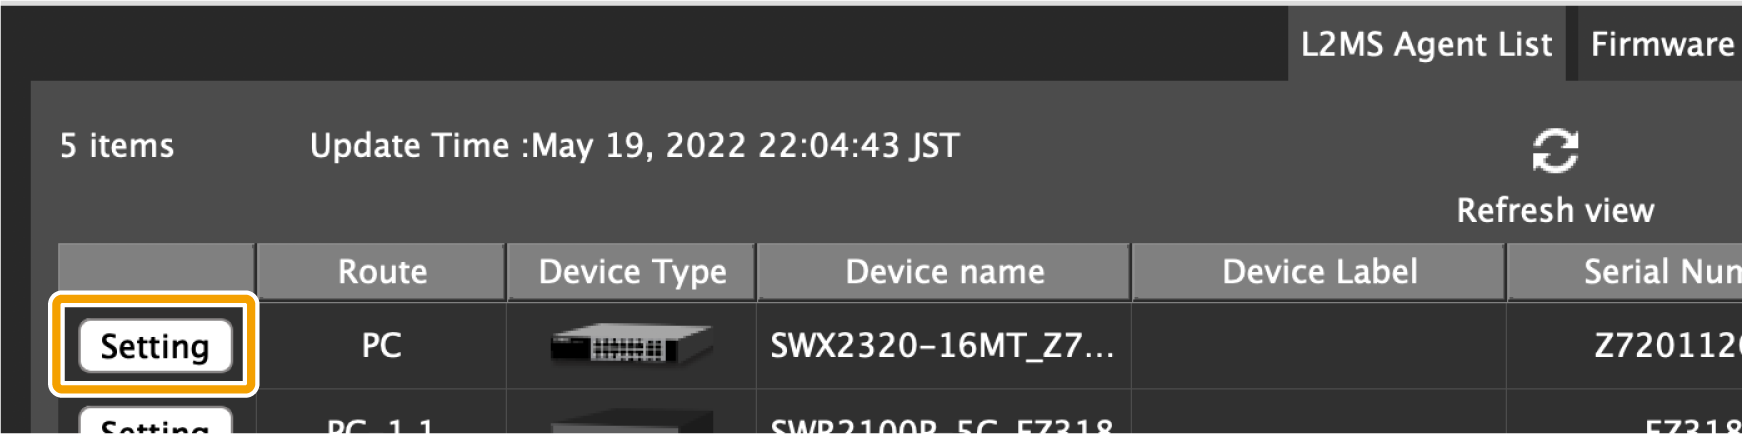
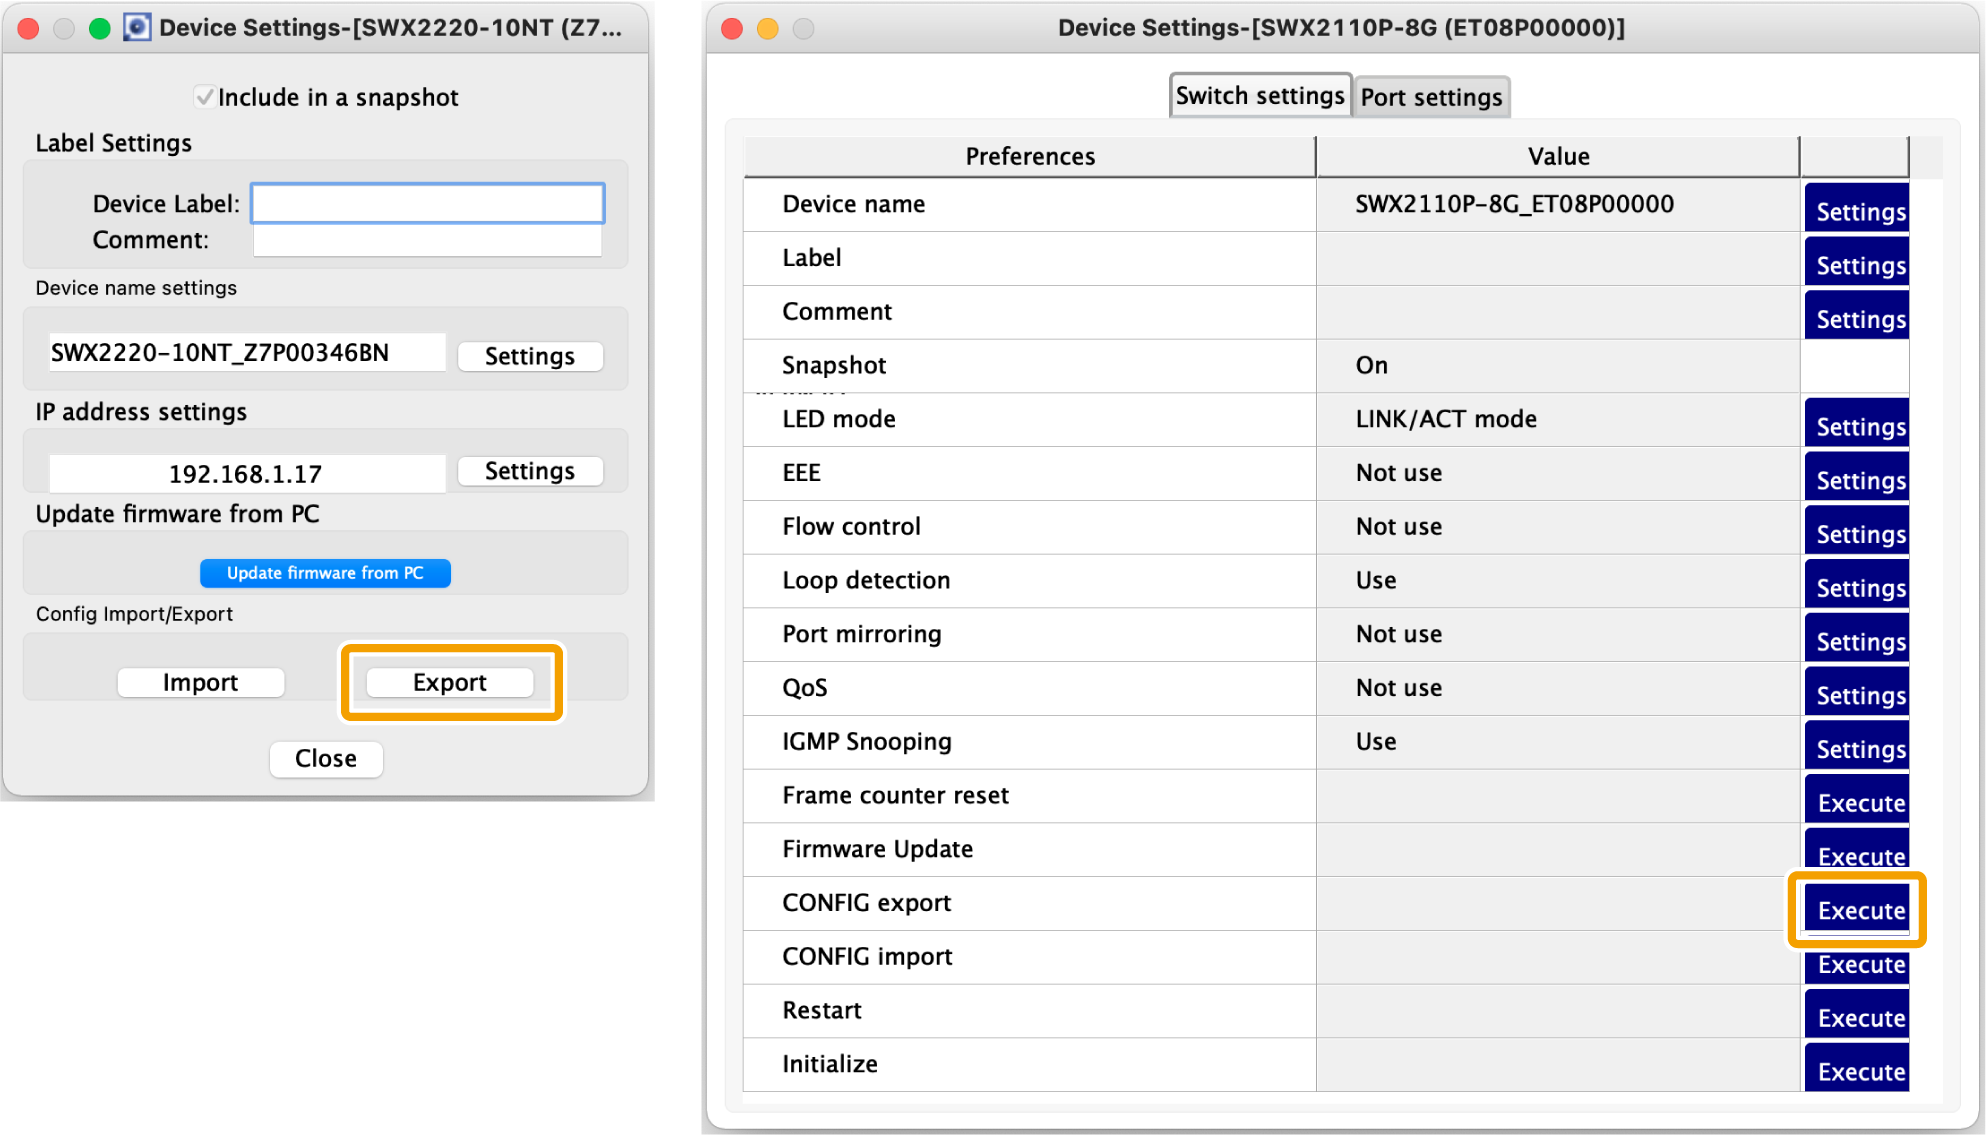
Use one of the following methods to display the “Device Settings” dialog of the device that supports CONFIG import.
-
“Device Settings” button on the Map screen

-
“L2MS Agent List” tab on the List screen - “Setting” button
-
-
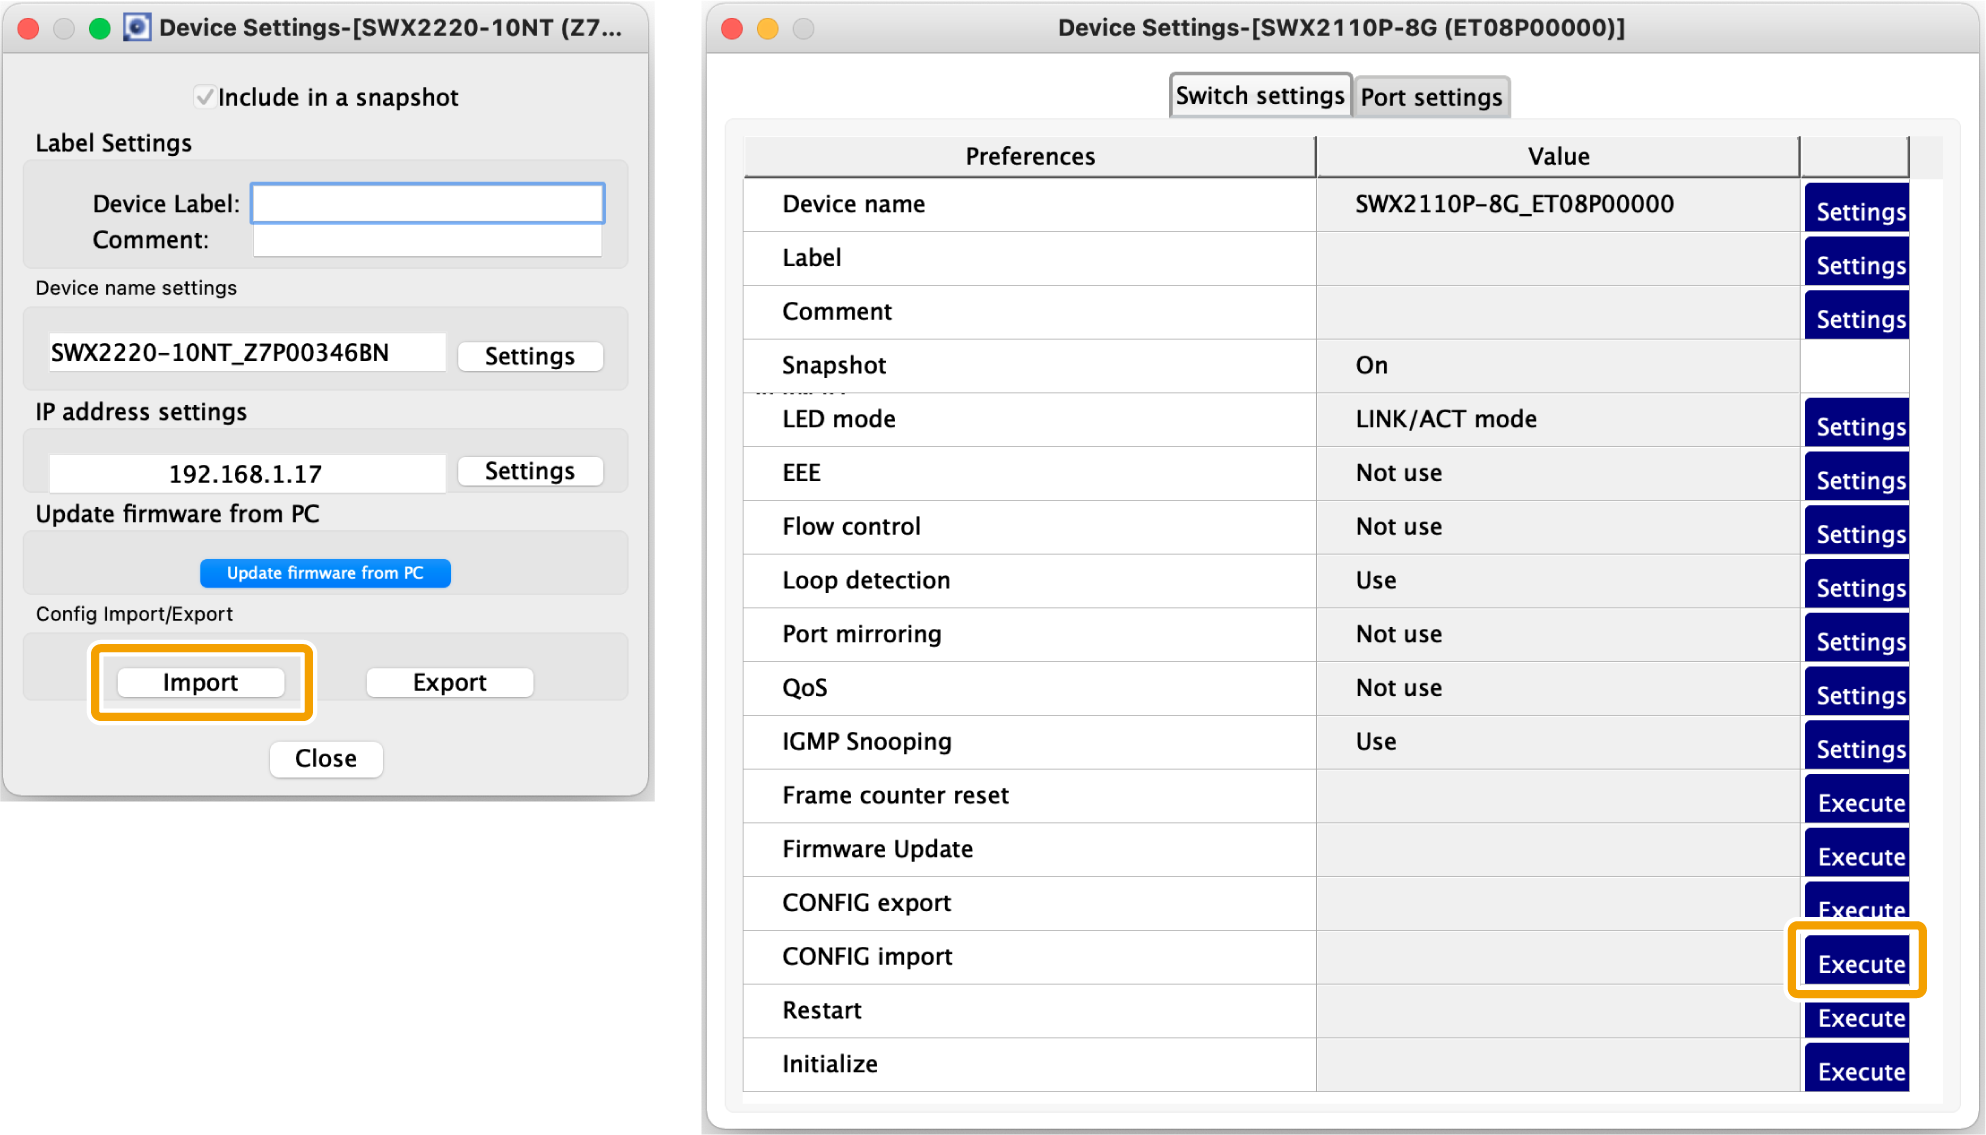
Click the “Import” button or the “Execute” button in the CONFIG import row.
-
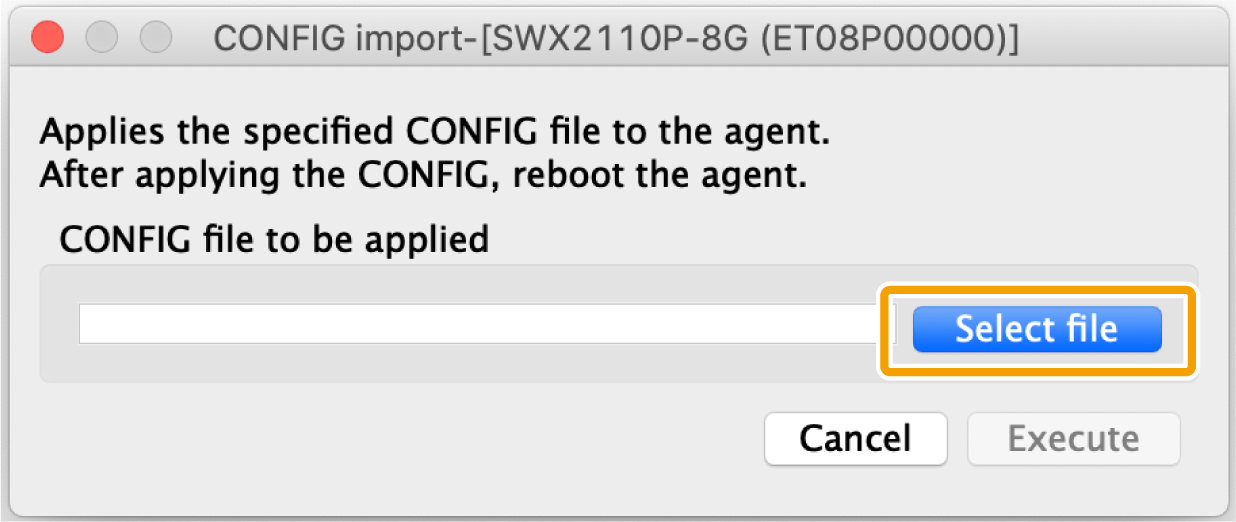
Click the “Select file” button and select the file you want to import.
-
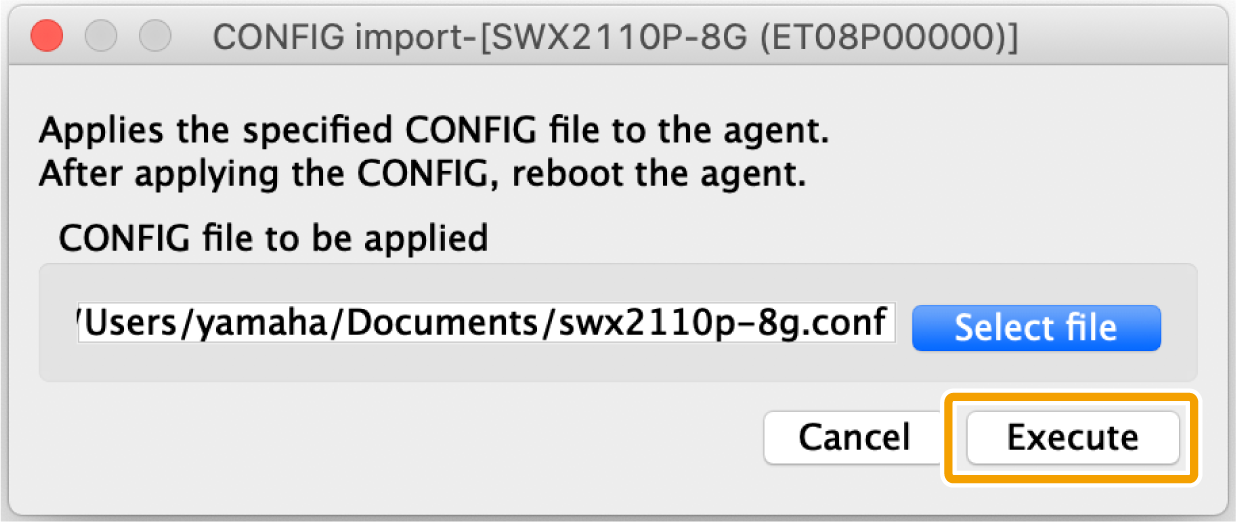
After selecting the file, click the “Execute” button.
-
When the following dialog box appears, the import of CONFIG is complete.

2. Import CONFIG on multiple units at once
To import CONFIG on multiple units all at once, follow the steps below.
-
Press the “List” button to open the List screen.

-
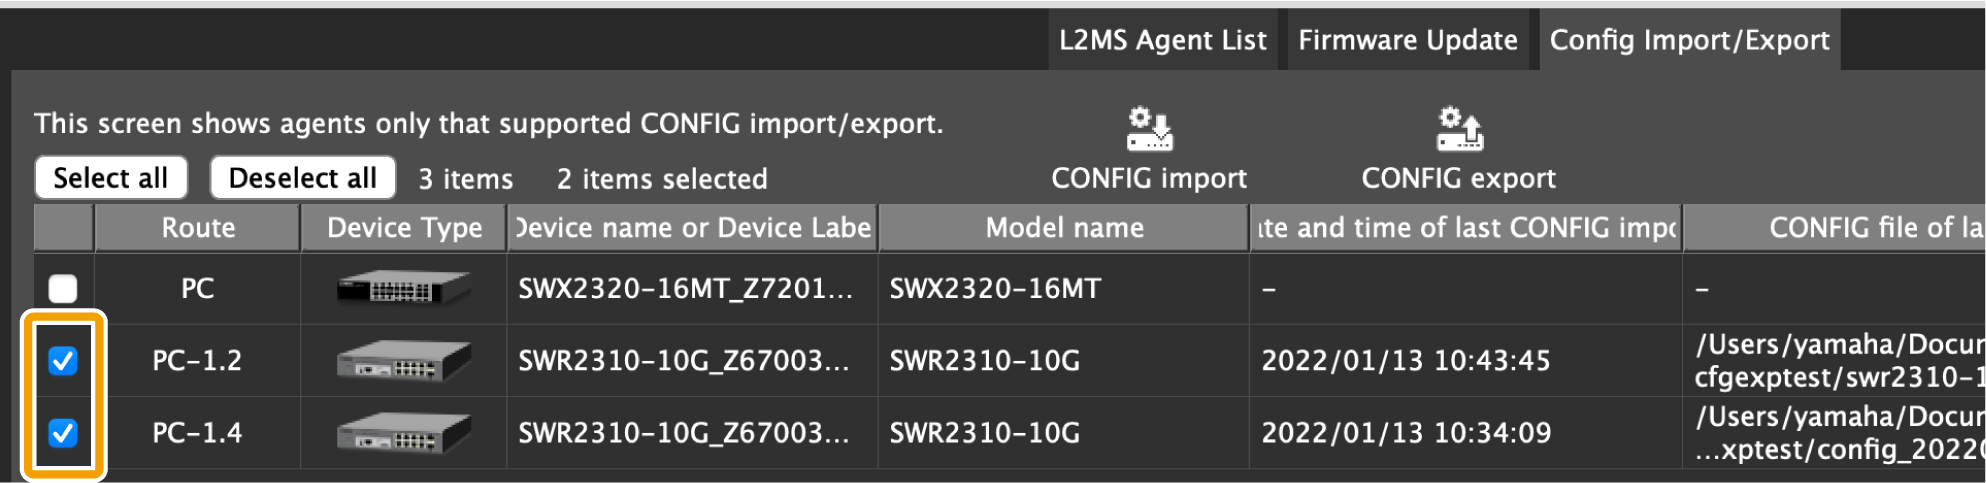
Press the “Config Import/Export” tab.

-
Check the checkboxes of the devices for which you want to import the CONFIG.
-
Press the “Config import” button.

-
Select one of the following three methods to specify the CONFIG to be imported.
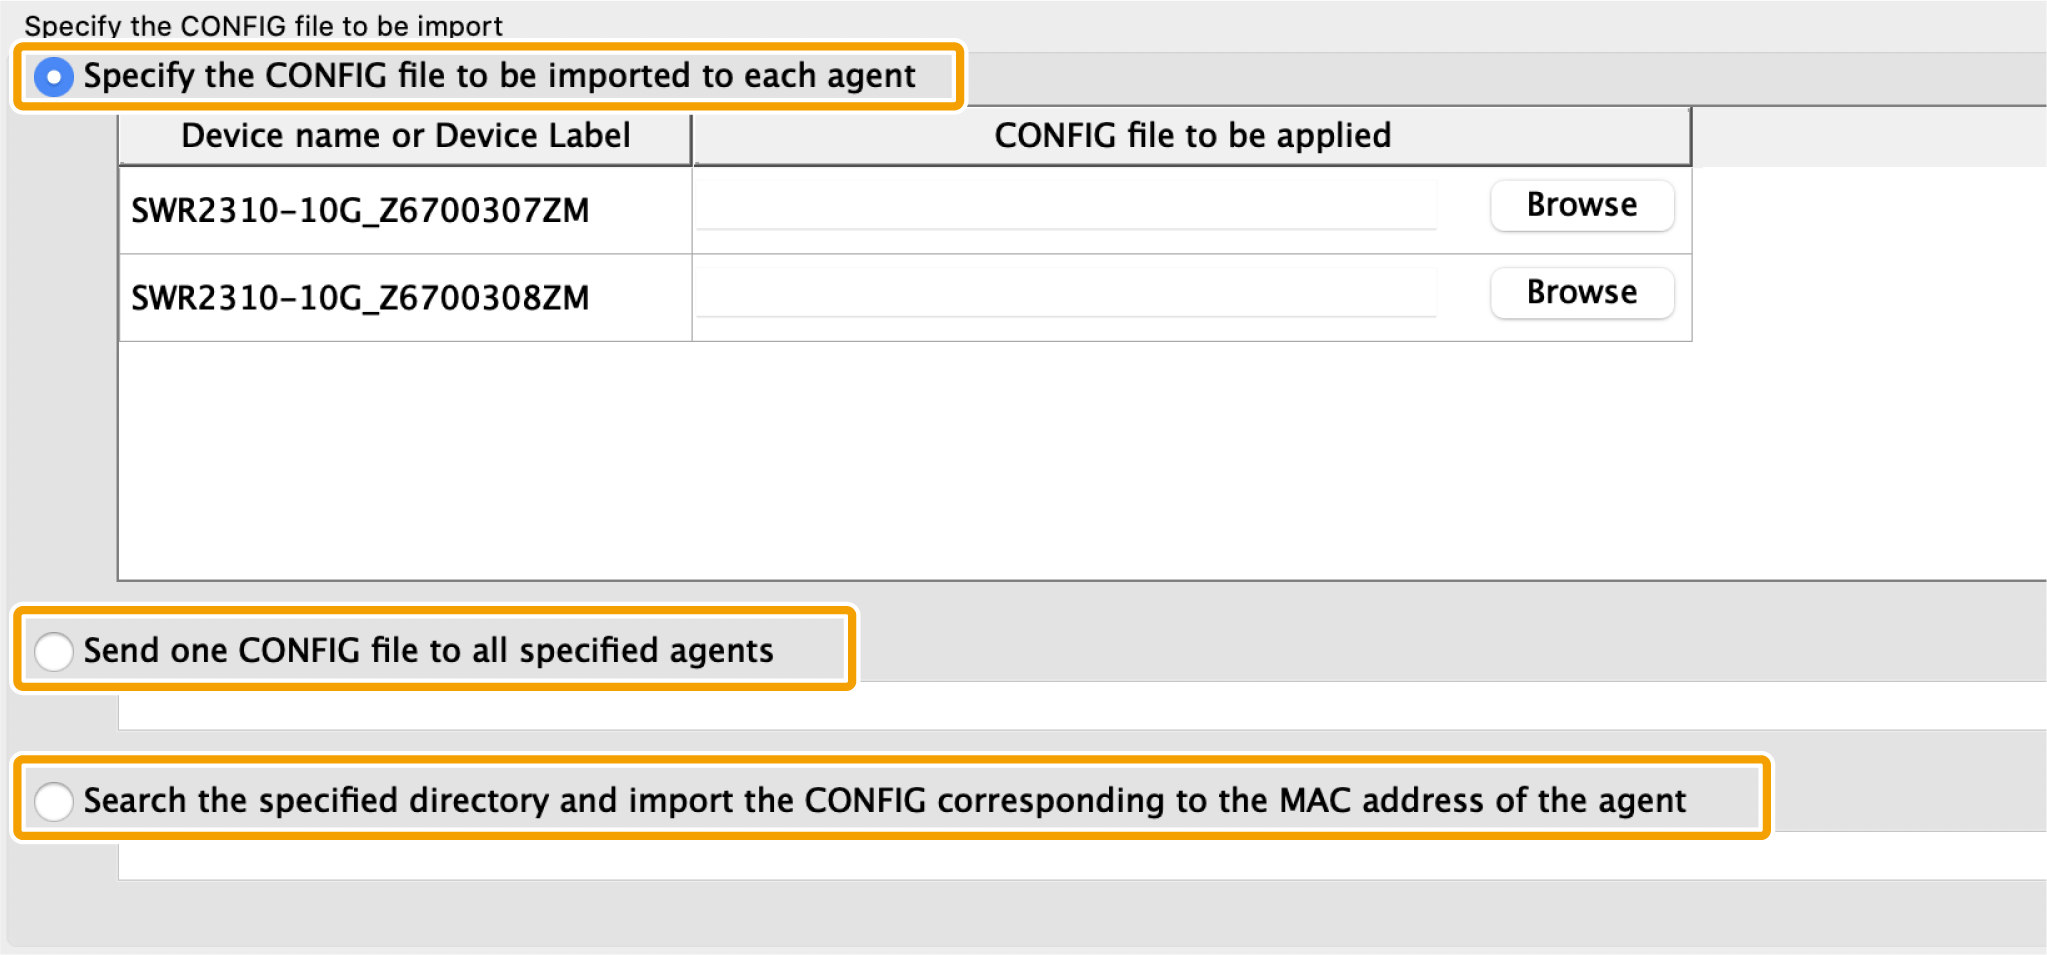
How to specify the CONFIG to be imported Descriptions Specify the CONFIG file to be imported to each agent
Selects individual CONFIG files to import.
Send one CONFIG file to all specified agents
Sends a single CONFIG file to all selected agents.
Used to prepare multiple agents with the same settings.
This item cannot be selected when multiple models are selected.Search the specified directory and import the CONFIG corresponding to the MAC address of the agent
Automatically detects/imports CONFIG files in the specified directory.
A CONFIG with the file name corresponding to the MAC address of the agent (<underscore-delimited MAC address>.conf) must be prepared in the specified directory.
For example, the name of the CONFIG file for an agent whose MAC address is AC:44:F2:12:34:56 should be ac_44_f2_12_34_56.conf. -
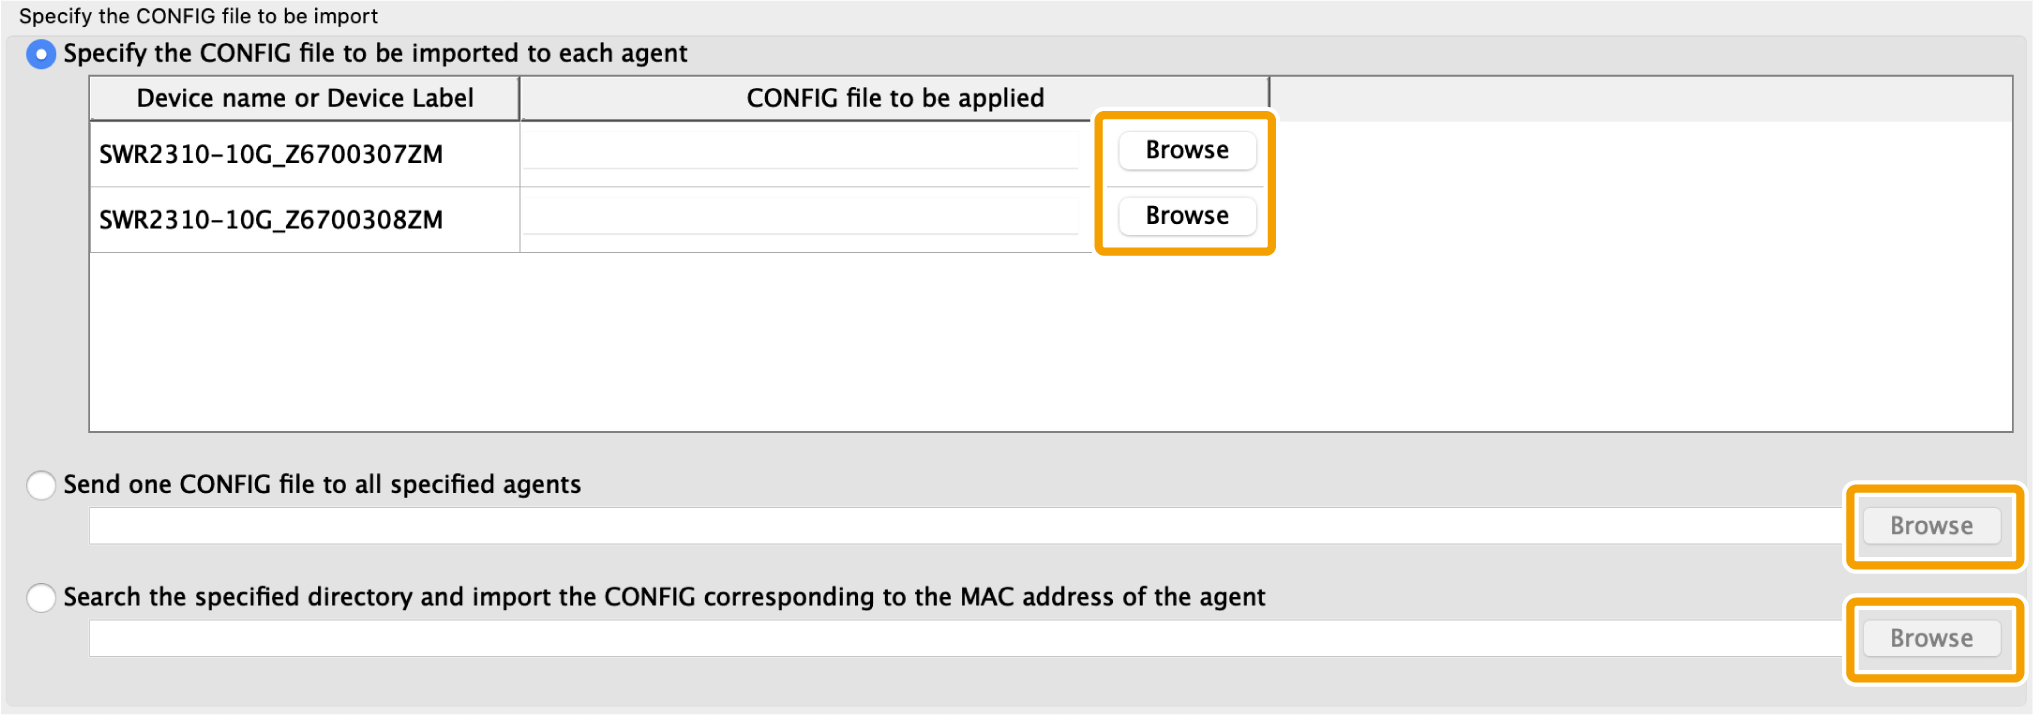
Press the “Browse” button according to how you want to specify the CONFIG file, and select the CONFIG file or directory.
-
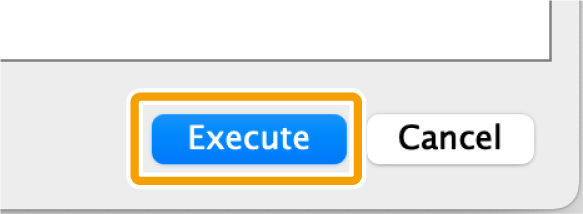
When you have finished selecting the CONFIG file or directory, press the “Execute” button.
-
Wait until the progress bar reaches 100%.
-
Check the execution results and output the results to a file if necessary.
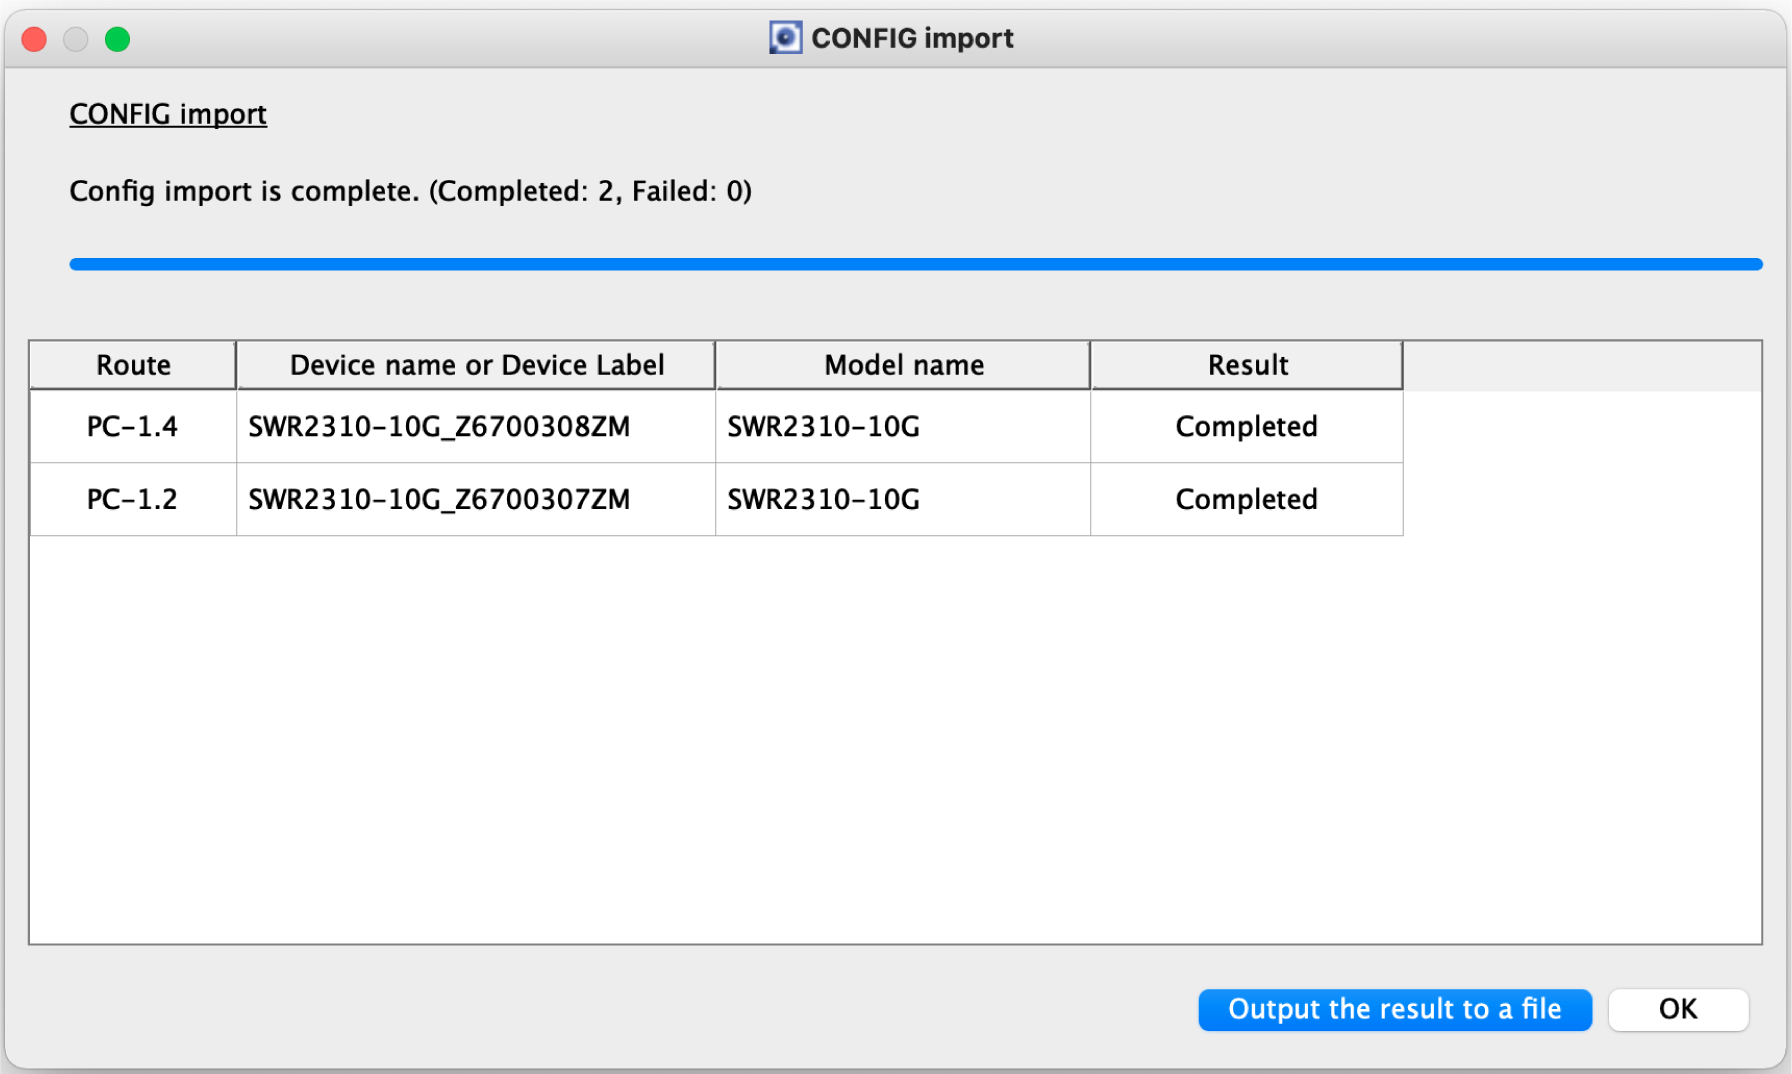
-
For the execution result of the CONFIG import, please refer to “Execution result of firmware/CONFIG bulk operation”.
-
The execution result file is also automatically saved to the following location.
~/Library/Application Support/Yamaha/LANMonitor/result
-
3. Export the CONFIG one by one
To export the CONFIG, follow the steps below.
-
Use one of the following methods to display the “Device Settings” dialog of the device that supports CONFIG export.
-
“Device Settings” button on the Map screen
-
“L2MS Agent List” tab on the List screen - “Setting” button
-
-
Click the “Export” button or the “Execute” button in the CONFIG export row.
-
Click the “Execute” button and specify a file name to save the file.
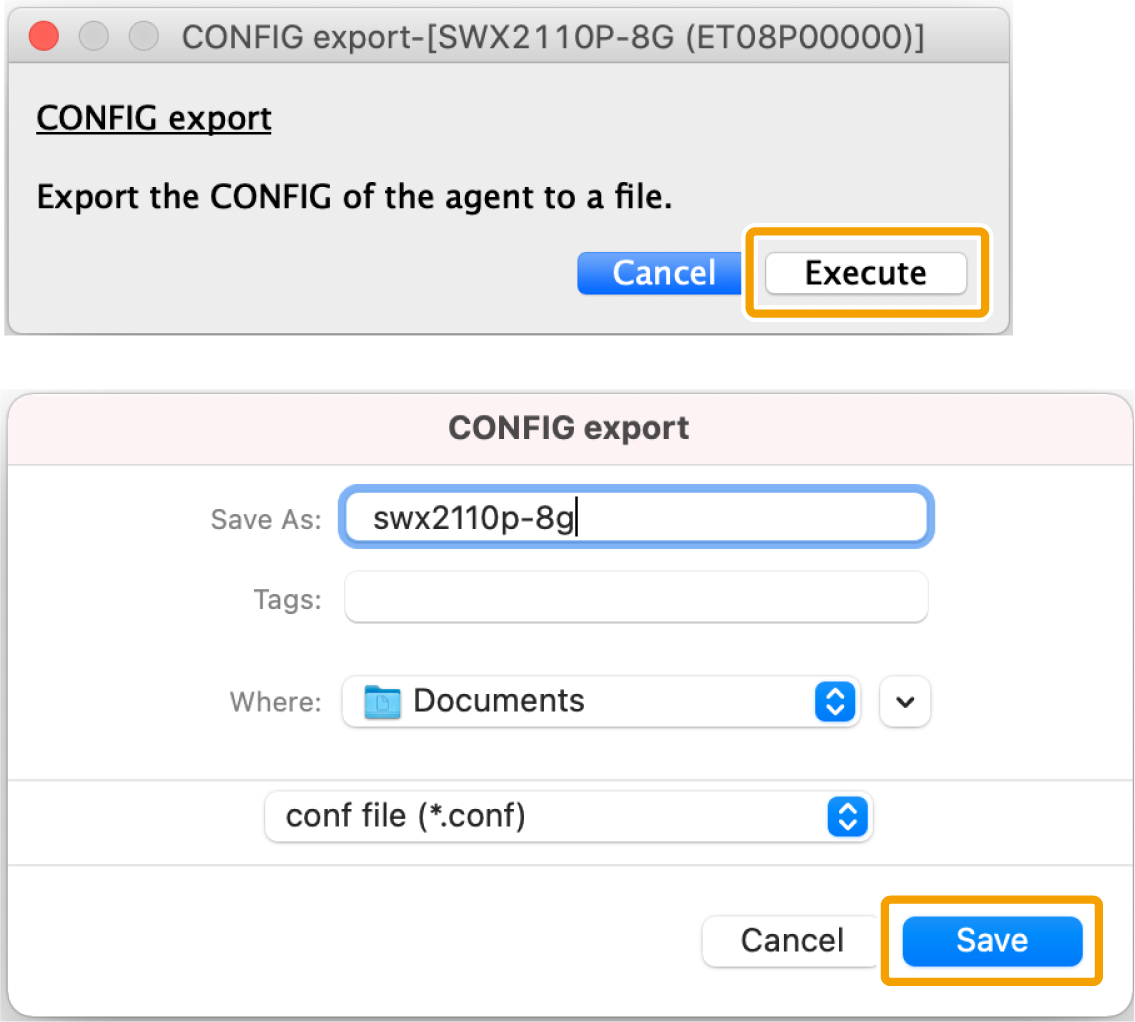
-
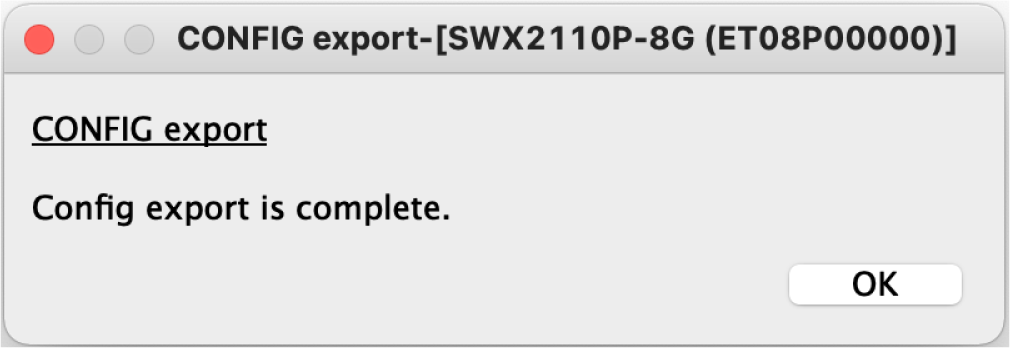
When the following dialog box appears, the export of CONFIG is complete.
4. Export CONFIG on multiple units at once
To export CONFIG on multiple units all at once, follow the steps below.
-
Press the “List” button to open the List screen.
-
Press the “Config Import/Export” tab.
-
Check the checkboxes of the devices for which you want to export the CONFIG.
-
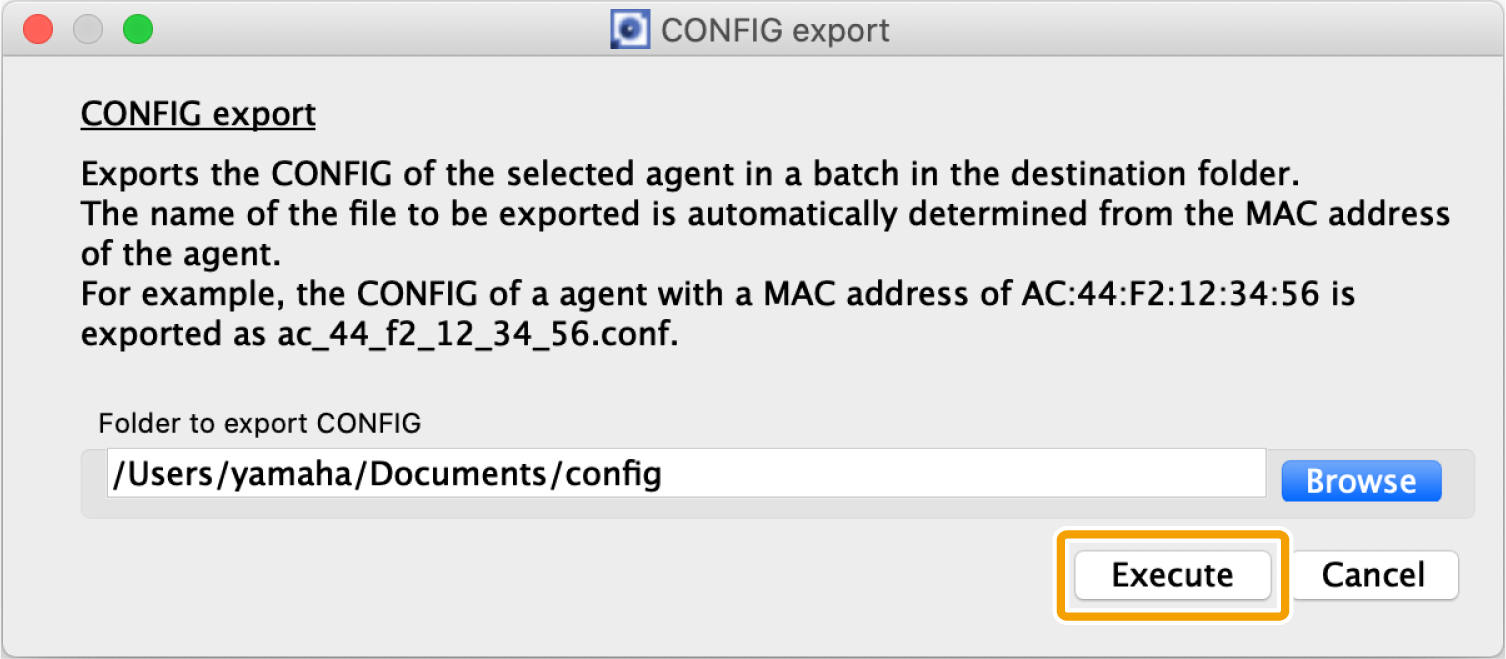
Press the “Config export” button.

-
Press the “Browse” button and specify the folder where you want to save the exported CONFIG.

-
When you have finished selecting the destination folder for export, press the “Execute” button.
-
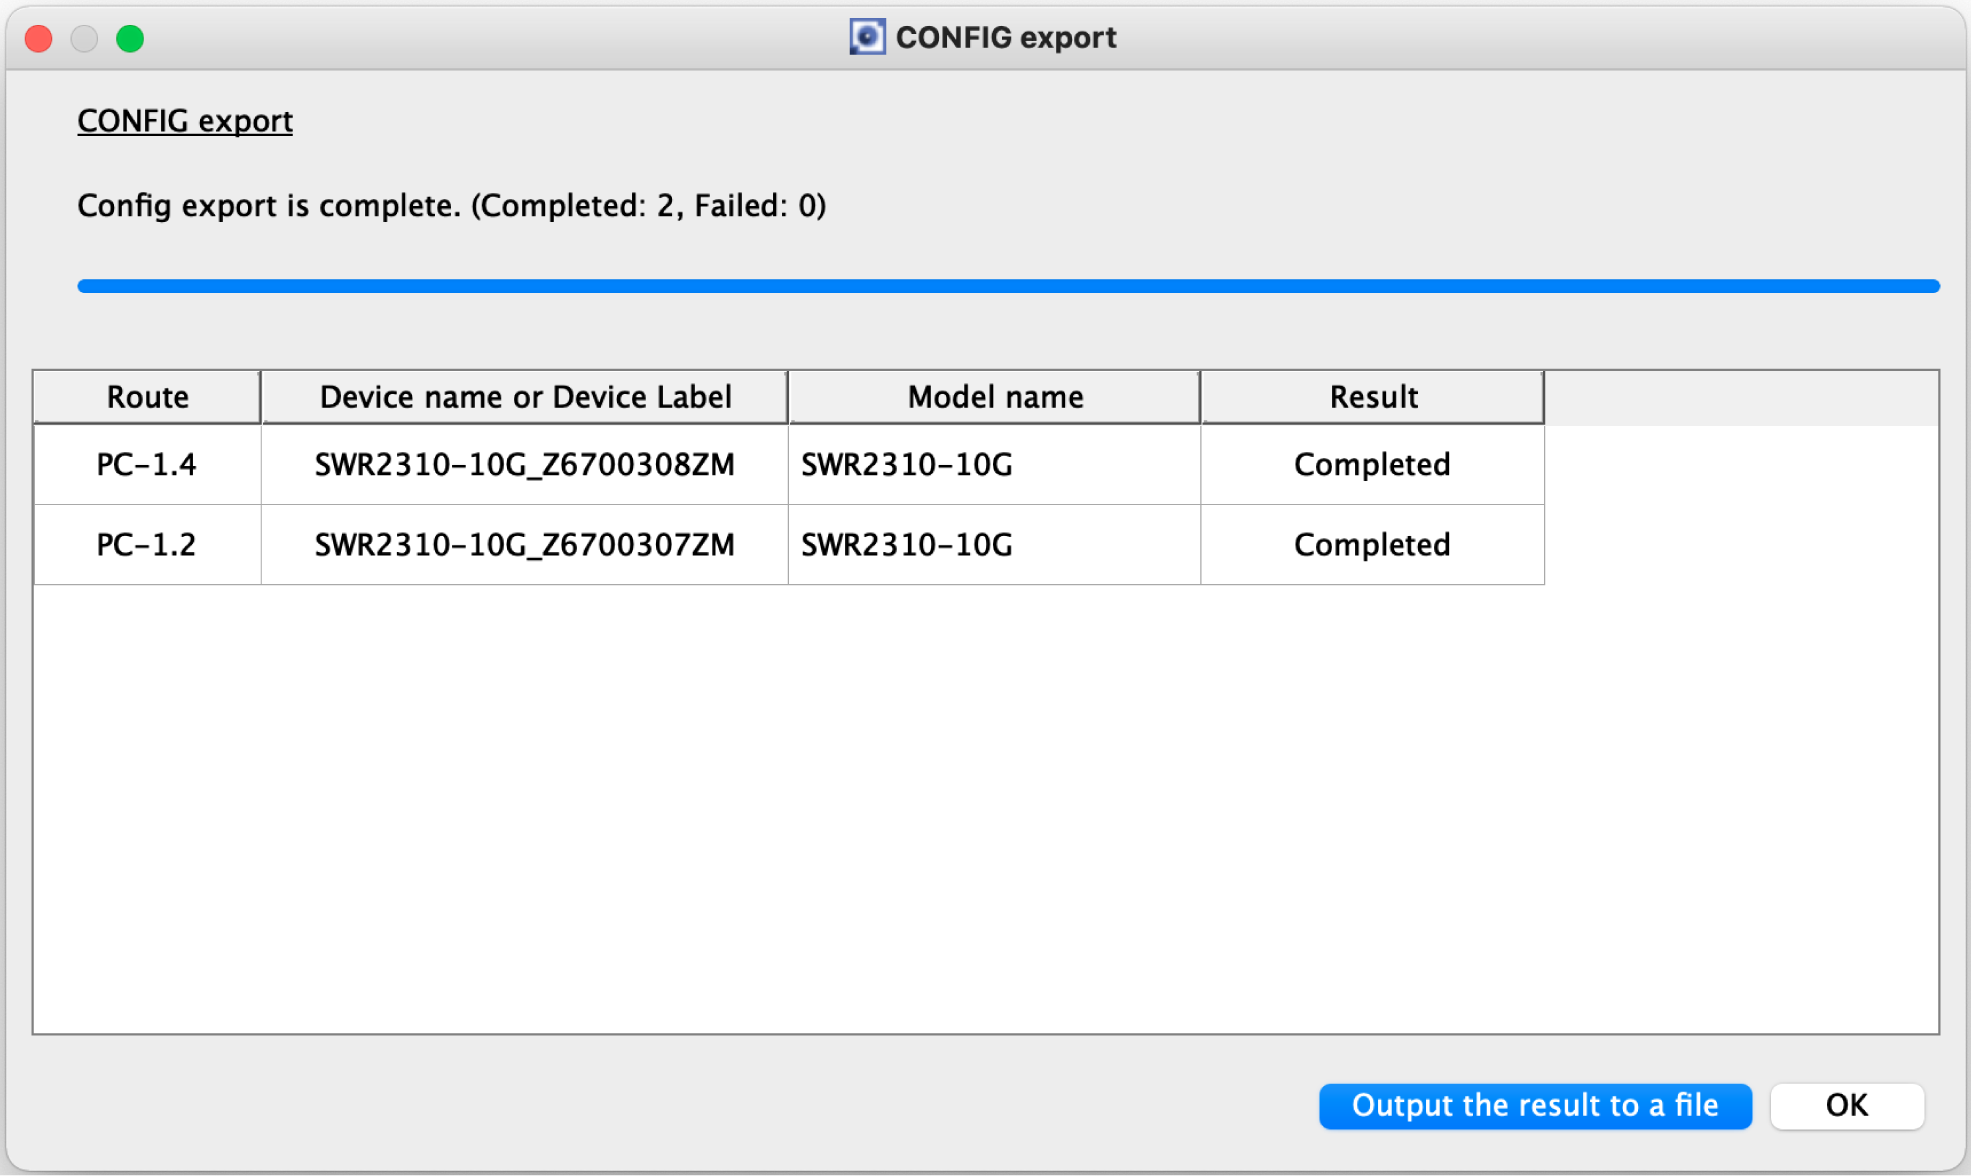
Wait until the progress bar reaches 100%.
-
Check the execution results and output the results to a file if necessary.
-
For the execution result of the CONFIG export, please refer to “Execution result of firmware/CONFIG bulk operation”.
-
The execution result file is also automatically saved to the following location.
~/Library/Application Support/Yamaha/LANMonitor/result
-