
Creating a plan by using the room image recognition feature
About the room image recognition feature
The room image recognition feature uses AI to recognize the type and arrangement of furniture as well as the materials of the walls, ceiling and floor, based on uploaded images of the room.
These are applied to the conditions for the room being created to help specify the room conditions.
|
AI-generated content may contain errors. Please edit the generated result to match the actual room. |
Prepare images for image recognition.
Before creating a plan, prepare a room photo for image recognition.
Consider the following when taking photos of the room.
-
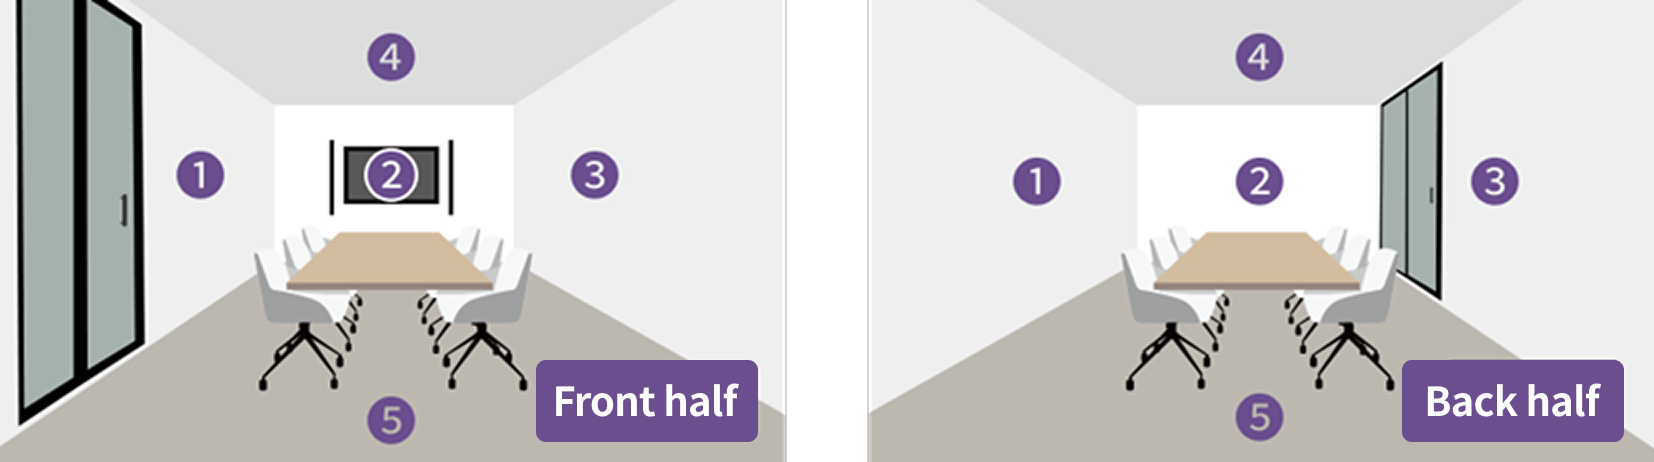
Please prepare two images: one of the Front half of the room and one of the Back half. Although recognition is possible with just one photo, we recommend using multiple photos to improve recognition accuracy.
-
Make sure each image includes all of the following elements:
1 Left wall 2 Opposite wall 3 Right wall 4 Ceiling 5 Floor -
Images in the JPEG format (.jpg extension) or PNG format (.png extension) can be uploaded.
Creating a plan by using the room image recognition feature
-
Prepare images for image recognition.
-
On the Room Planner top page, click the [New] button.
-
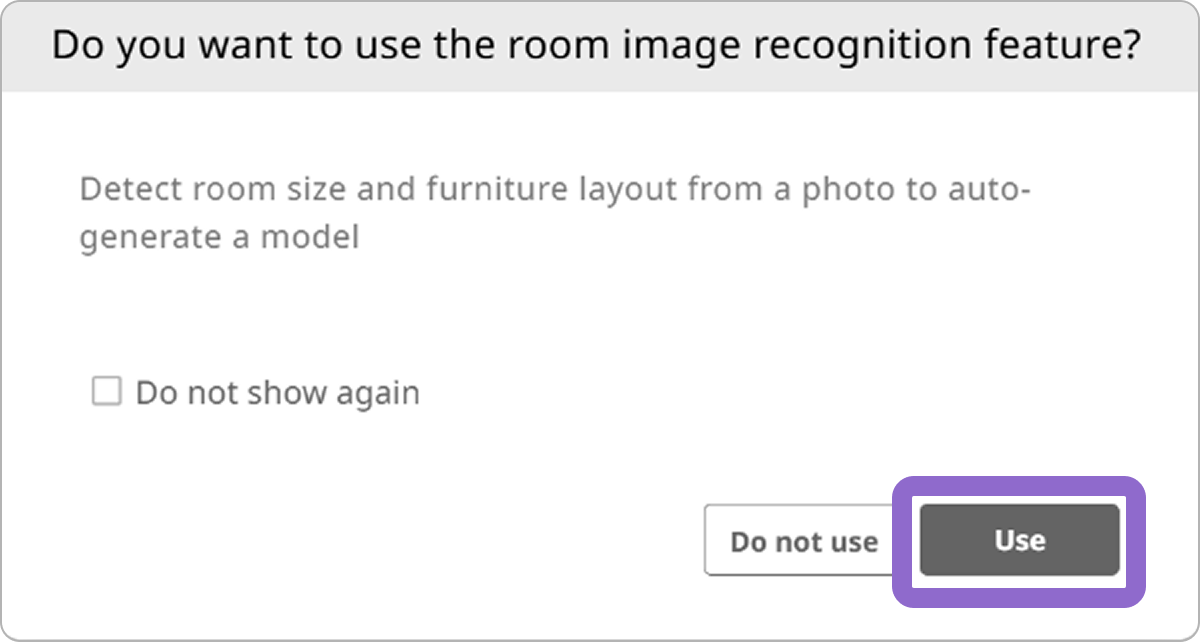
In the confirmation dialog box for using the room image recognition feature, click the [Use] button.
-
Upload images to the upload dialog.
Upload images by dragging them to the screen or by selecting the files.
When uploading is finished, click the [Design] button.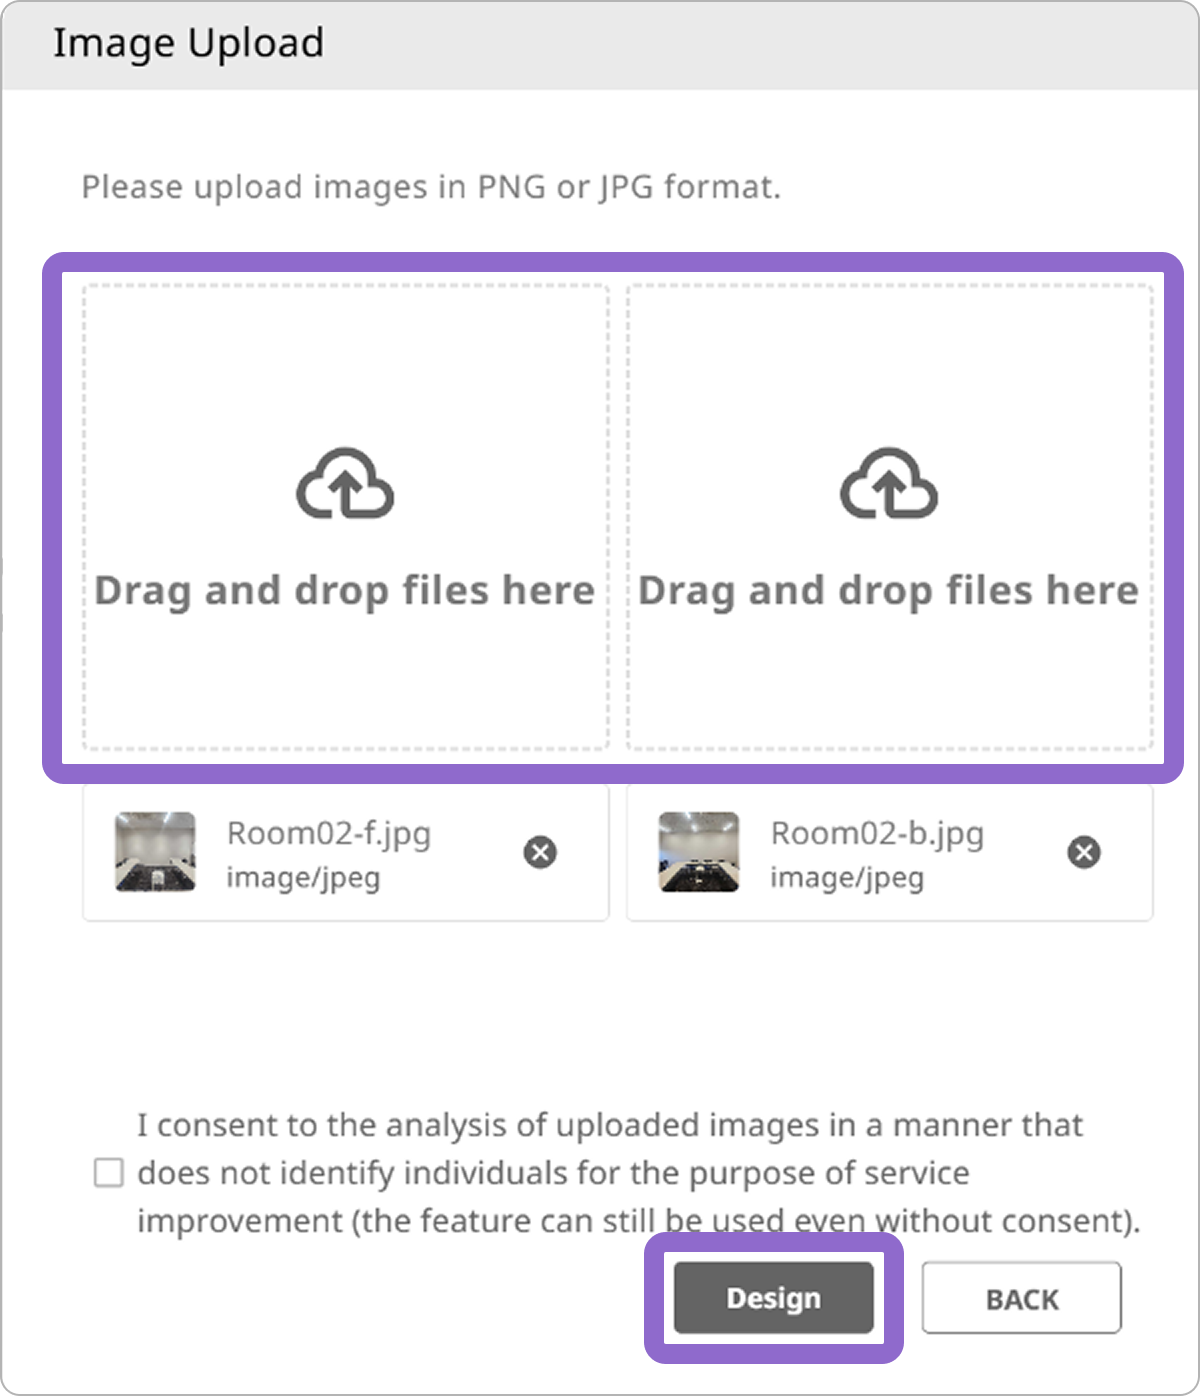
-
When image recognition has derived the room conditions, a screen appears, indicating that automatic generation is finished.
-
In the new plan screen, continue entering room conditions while checking that there are no errors in those derived by image recognition.