“Devices” area
12. “Devices” area
This area shows the devices registered in the project and the parameters of those devices.
Place widgets in the work area by dragging and dropping parameters into the work area.
If the parameter has multiple instances, such as the [On] switch of an input channel, a dialog box asks you which should be assigned when you drop the item. In the dialog box, you can use the < Ctrl > key or < Shift > key to make a multiple selection.
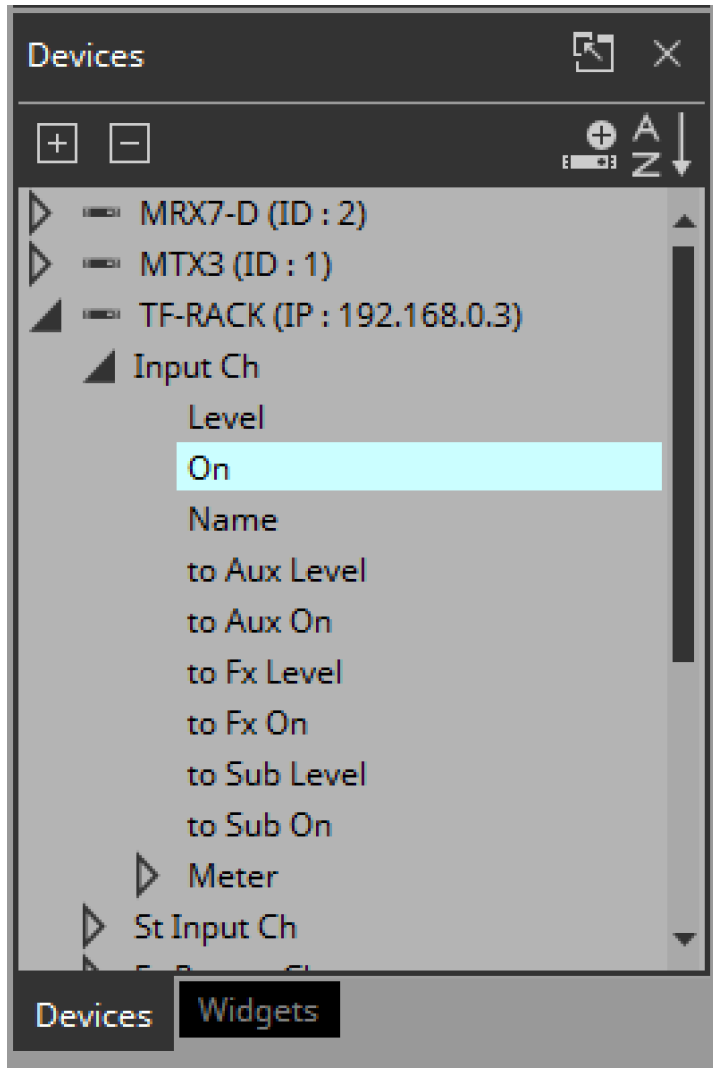
By clicking the triangle
![]() located at the left of a device or parameter, you can expand or collapse the display for each individual device or parameter.
located at the left of a device or parameter, you can expand or collapse the display for each individual device or parameter.
Use the tab below to switch between showing the “Devices” area or the “Widgets” area.
If you click “
![]() ,” the area floats, and the tab is not shown.
,” the area floats, and the tab is not shown.
If an unregistered device is detected, a “?” is shown at the left of that device.
■ Buttons
Here we explain the buttons of the “Devices” area.
| Button | Command | Summary |
|---|---|---|
|
|
[Expand All] |
Expands all devices and parameters. |
|
|
[Collapse All] |
Collapses all devices and parameters. |
|
|
[Add Device] |
Adds a device to the project. |
|
|
[Sort Devices in Ascending Order] |
Shows the devices in ascending order. |
|
|
[Sort Devices in Descending Order] |
Shows the devices in descending order. |
■ Context menu
| Menu | Summary |
|---|---|
|
[Add] |
If a device not registered in the project is detected, the corresponding device is registered. |
|
[Delete] |
Deletes the device from the project. |
■ Properties
Here we explain the parameters that are shown in the “Properties” area when the focus is on a device or parameter.
| Property | Value |
|---|---|
|
[Model] |
Indicates the model name of the device. |
|
[Identifier] |
Indicates the unit ID or IP address of the device.
|
|
[Device Name] |
Indicates the name of the device. Click this to edit it. |